Makeup is an art that lets people enhance their natural beauty and express themselves. However, even the most experienced painters can be subject to mistakes that waste their efforts. To help you achieve flawless beauty, here are nine common makeup mistakes you should avoid at all costs. Let’s Dive In!
Busy? Save this pin for later.
1. Skipping the Primer
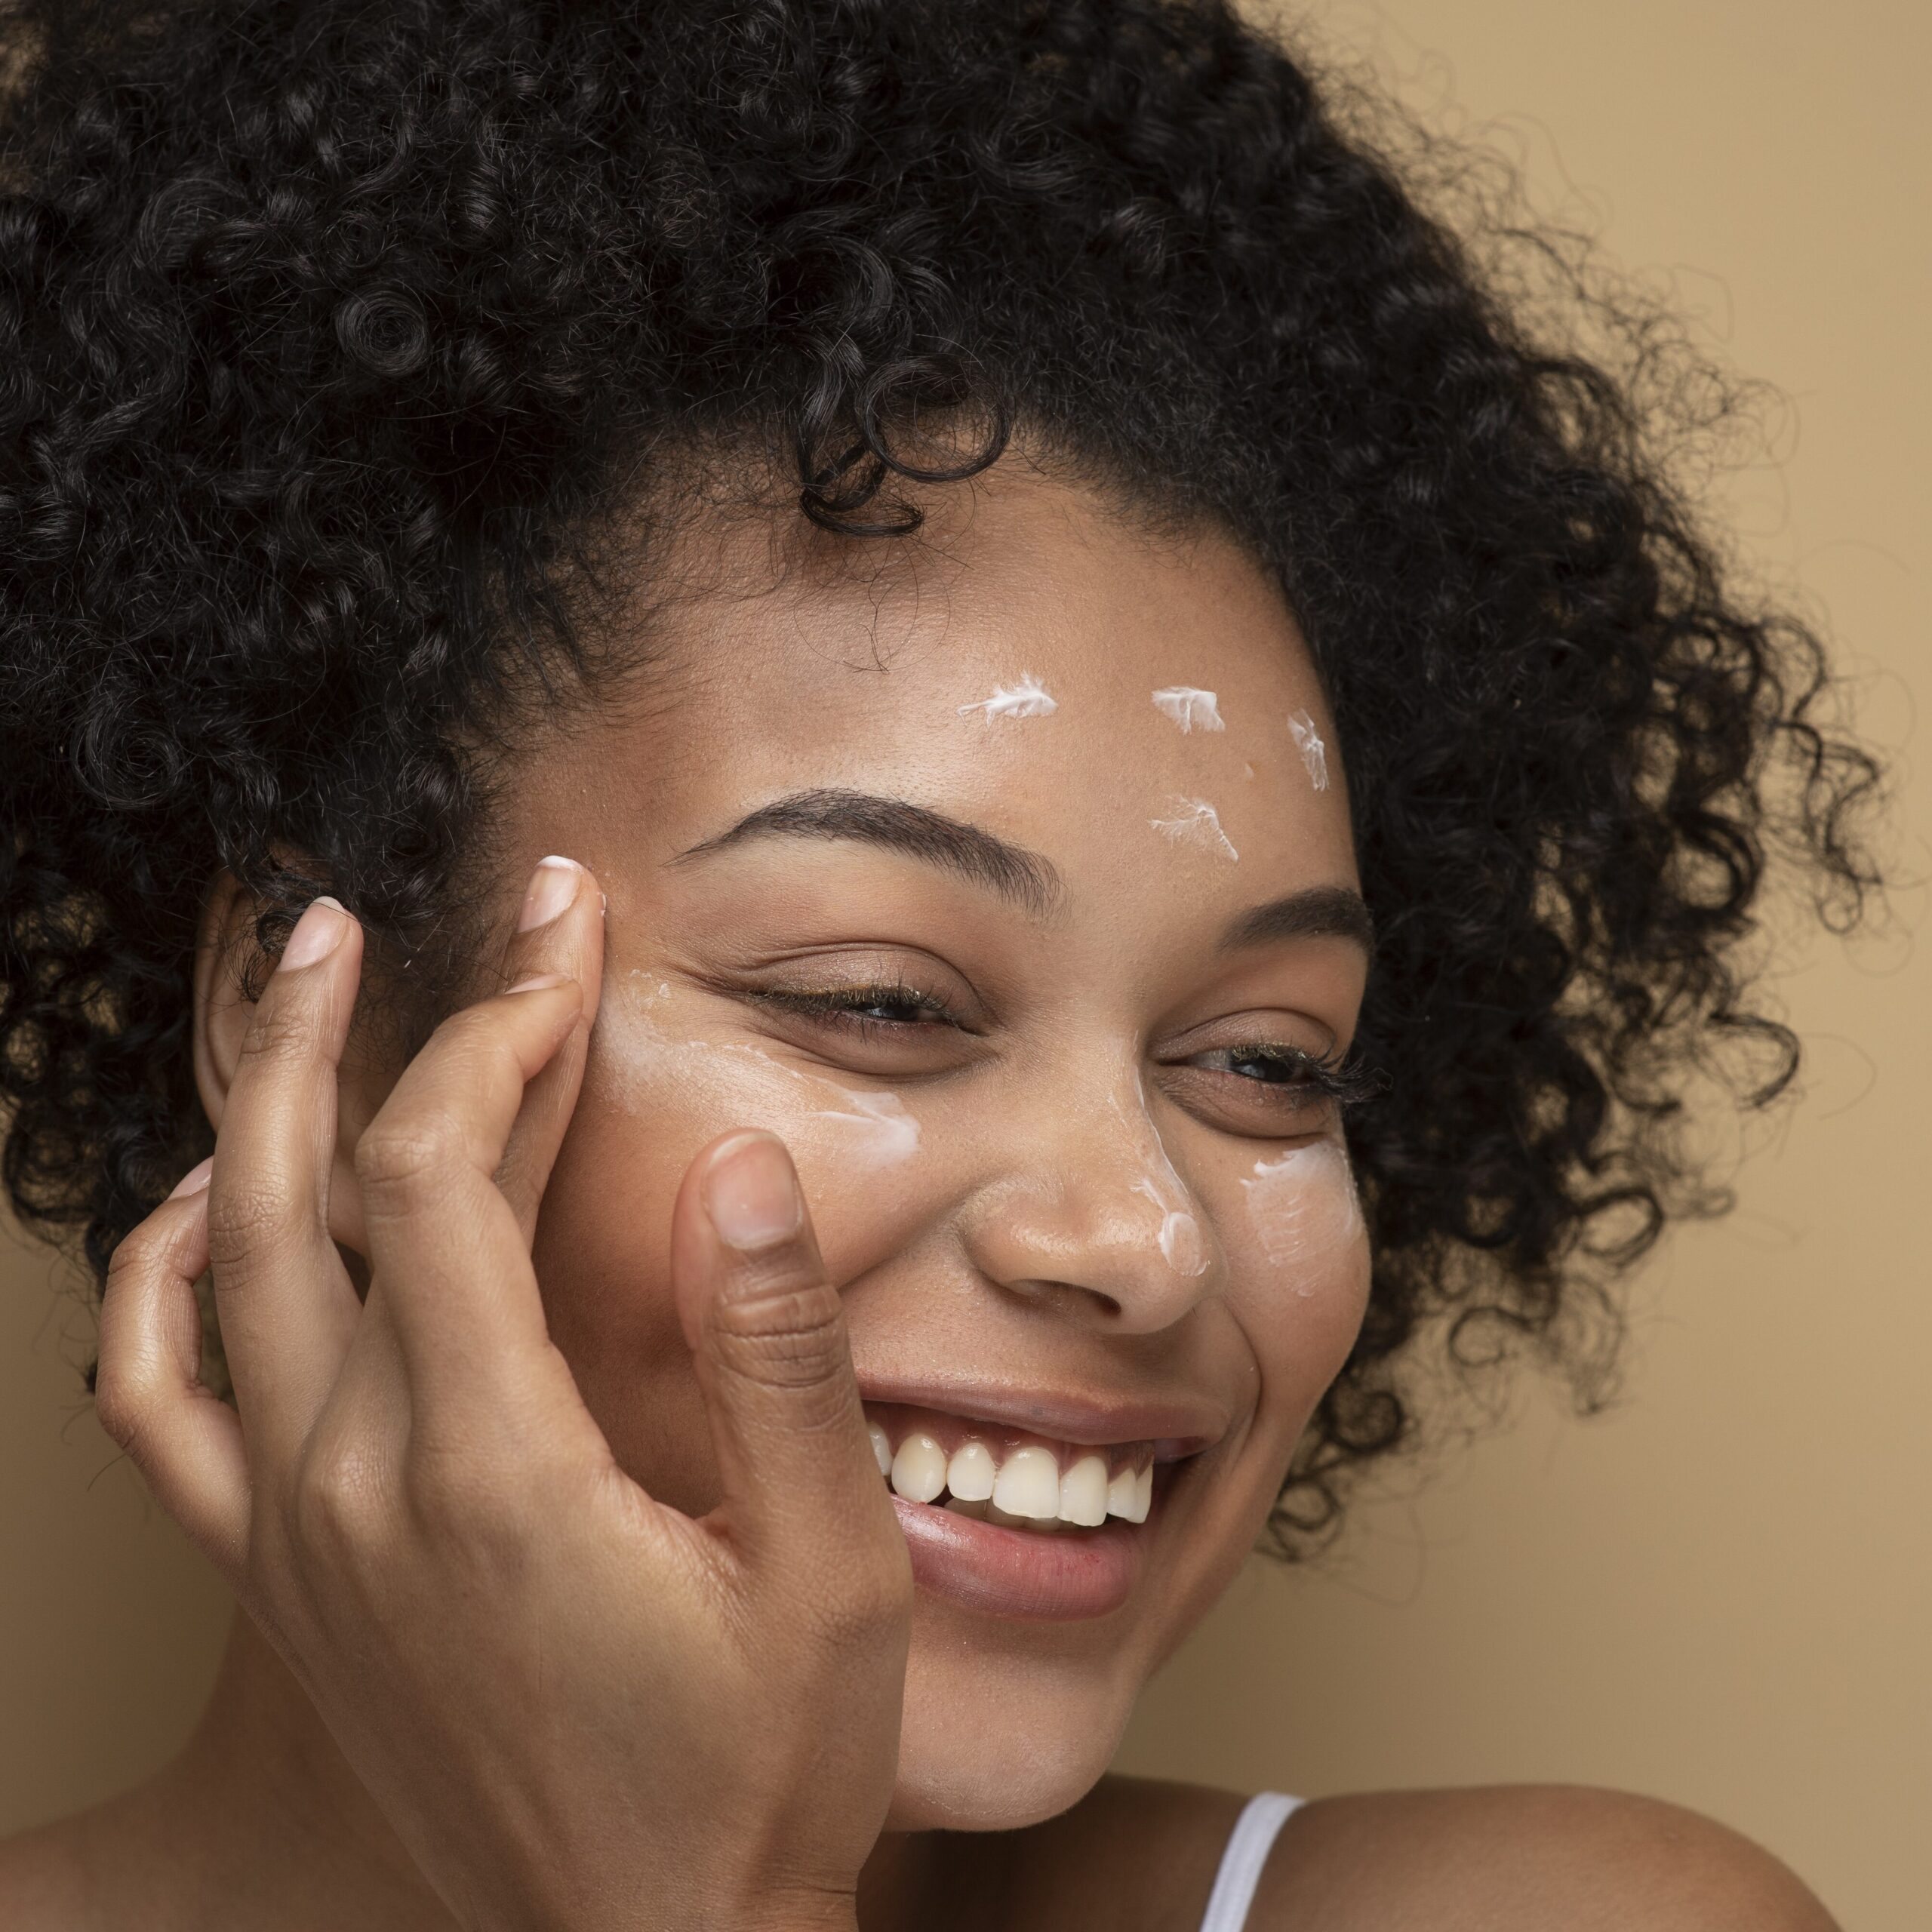
Primer is an important step that cannot be ignored in any makeup process. It helps create a base for foundation and helps make skin look beautiful, eliminate imperfections and extend the life of makeup.
By applying primer before foundation, you will create a flawless canvas for your entire makeup look.
Applying a primer not only helps your foundation adhere better to your skin but also creates a barrier between your skin and makeup, preventing clogged pores and breakouts.
Additionally, primers can provide additional benefits such as color correction, hydration, and mattifying properties, depending on your specific needs.
Invest in a primer that suits your skin type and concerns, whether it’s a hydrating primer for dry skin or a mattifying primer for oily skin.
To apply the primer, start with a small amount and gently massage it into your skin using your fingertips or a makeup brush. Pay extra attention to areas with visible pores or fine lines.
Allow the primer to fully absorb before moving on to the next step of your makeup routine. Not only will a primer help your makeup last longer, but it will also create a smooth and flawless finish.
You Might Also Like: 5 Common Skin Issues And How To Treat Them Naturally
2. Using the Wrong Foundation Shade
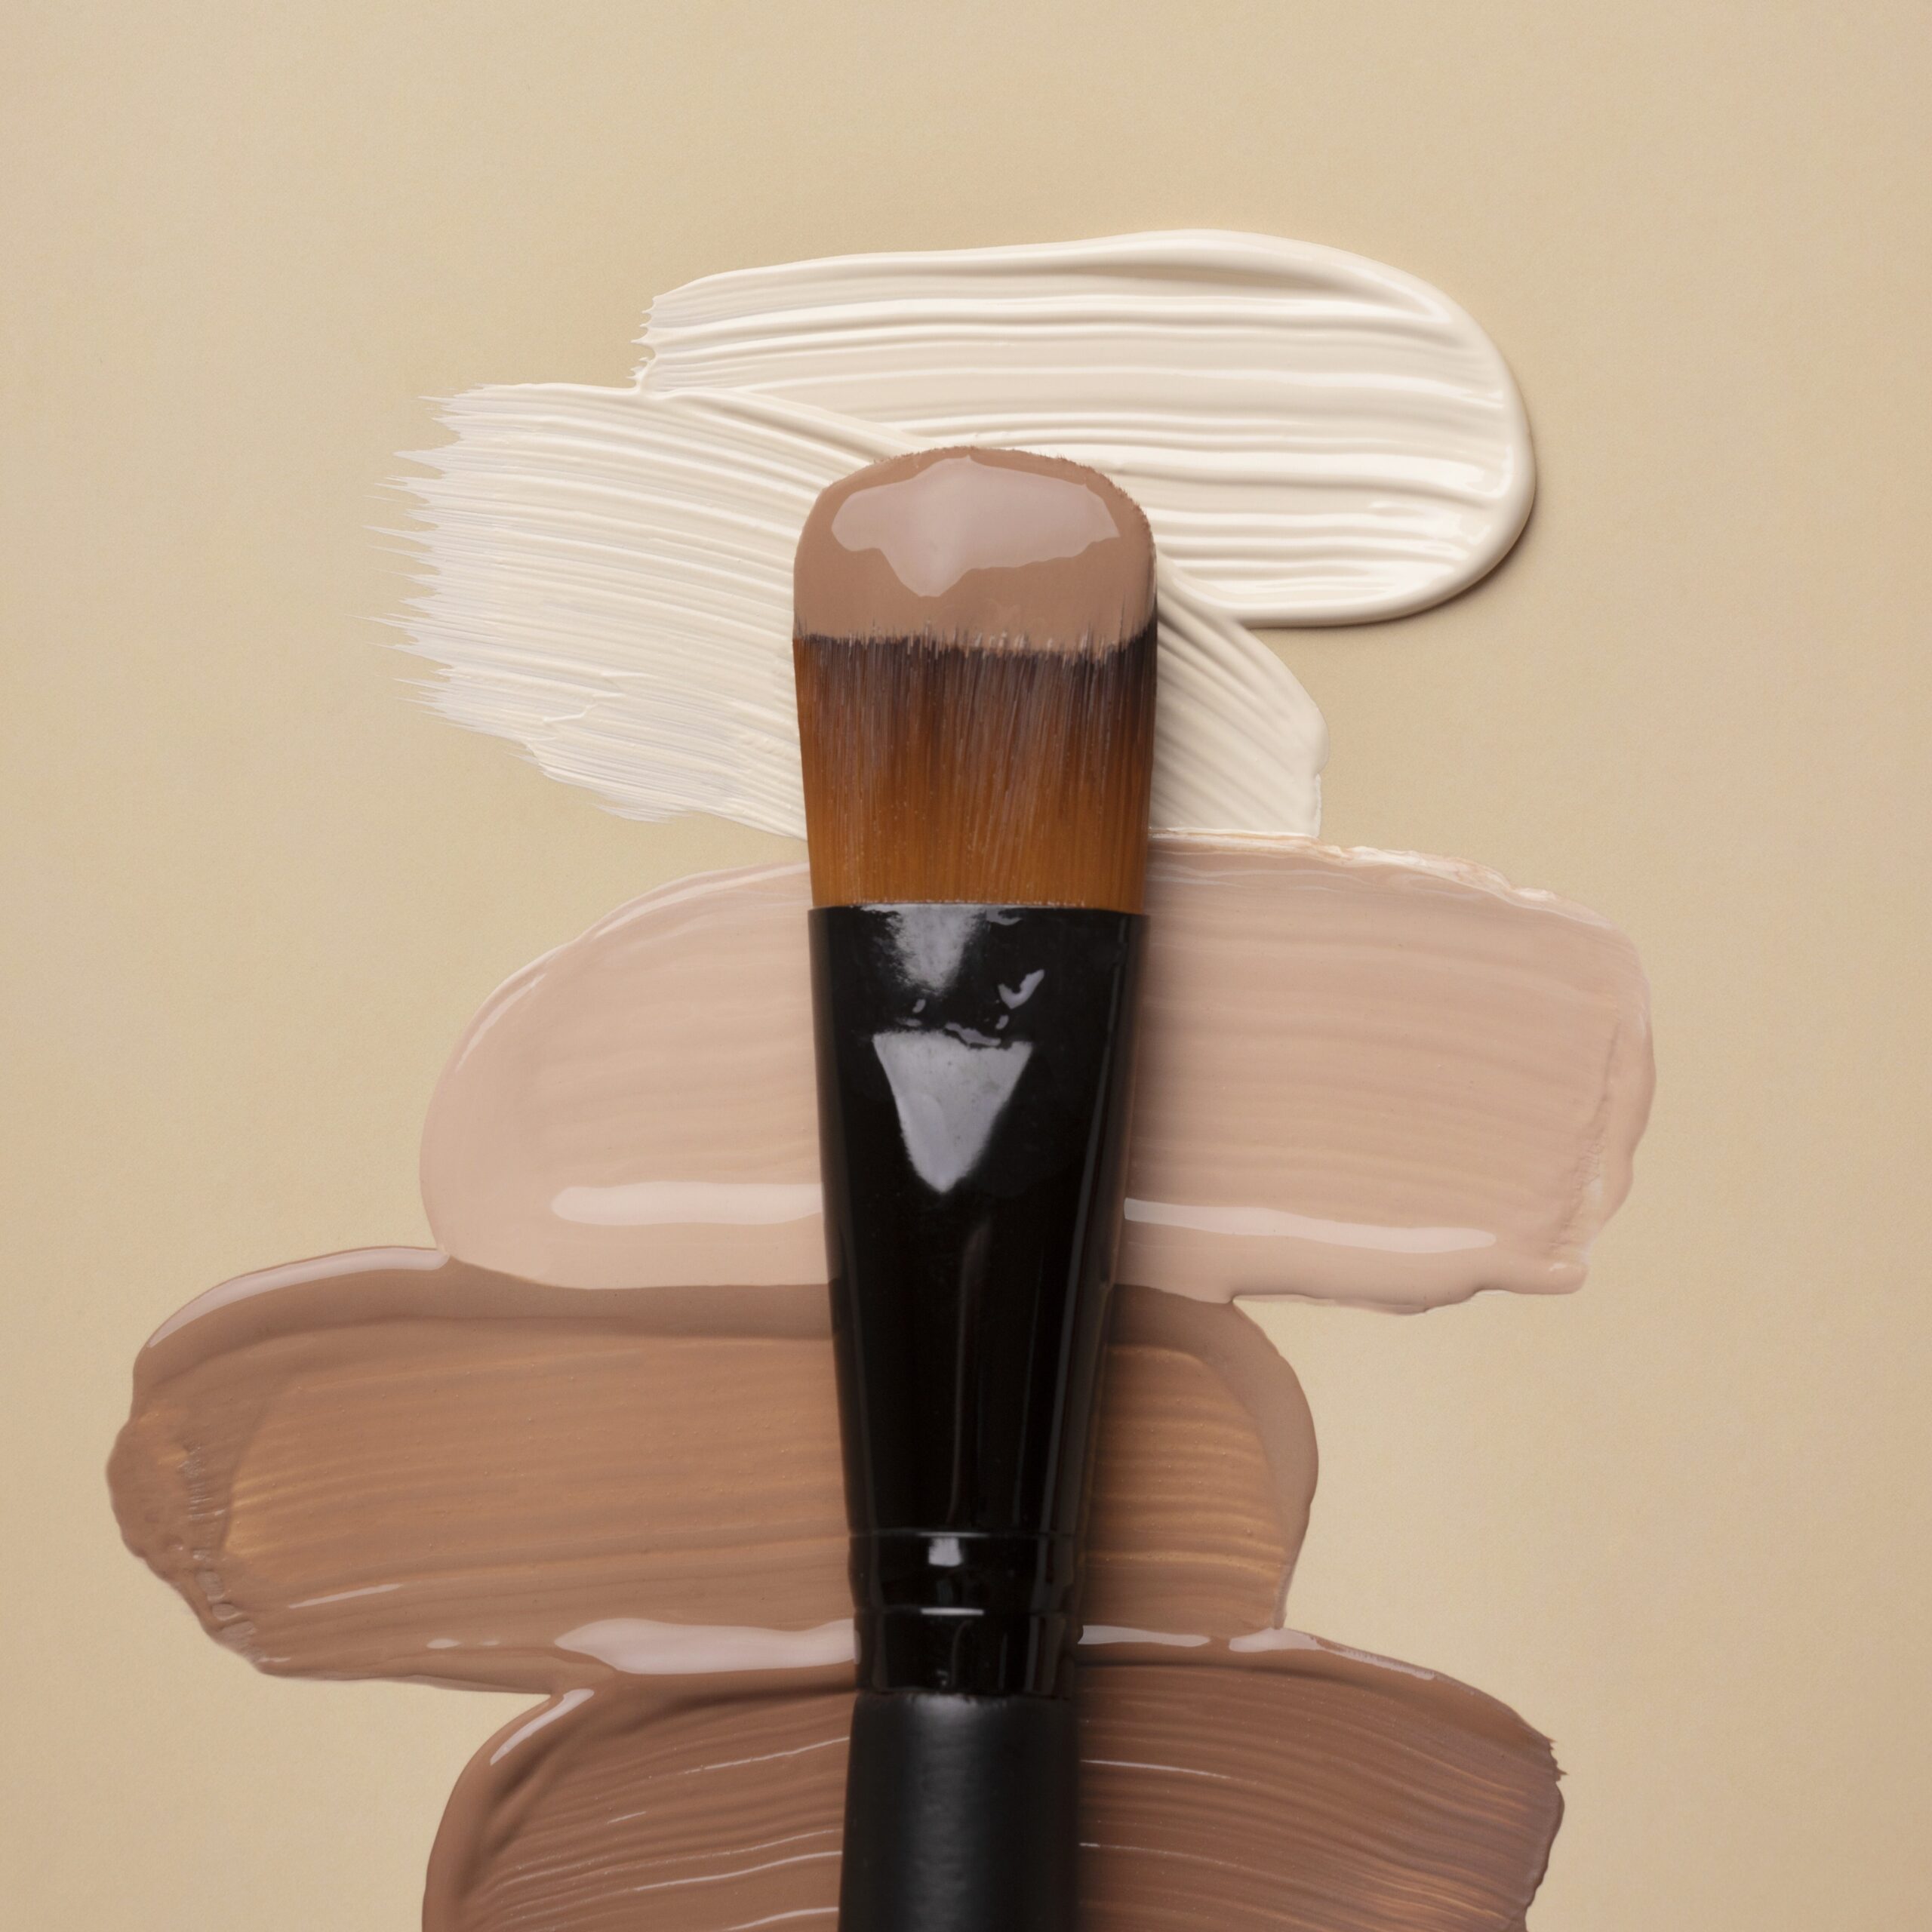
One of the biggest makeup mistakes that people commonly make is choosing the wrong foundation shade. Whether it’s using a shade that is too light or too dark for your skin tone, this can create an unnatural and unflattering appearance.
To find the perfect foundation shade, test it on your jawline and ensure that it seamlessly blends with your natural skin tone.
When selecting a foundation shade, consider factors such as your undertone, complexion, and any specific skin concerns you may have.
Undertones can be categorized as warm, cool, or neutral, and it’s important to choose a foundation shade that matches your undertone to achieve a natural look.
To determine your undertone, look at the veins on your wrist – if they appear blue, you likely have a cool undertone, while green veins indicate a warm undertone. If you can’t clearly identify either, you may have a neutral undertone.
When testing foundation shades, it’s best to try them in natural light to get an accurate representation of how they will look on your skin.
Apply a small amount of the foundation to your jawline and blend it out. The right shade should seamlessly blend with your natural skin tone without any noticeable lines of demarcation.
It’s also a good idea to observe the foundation for a few minutes to see if it oxidizes or changes color upon drying.
3. Neglecting to Blend
Blending is the key to achieving a seamless and natural-looking makeup application. Whether you’re applying foundation, concealer, or eyeshadow, make sure to blend the product properly to avoid any harsh lines or uneven patches.
Invest in good-quality brushes or makeup sponges to achieve a flawless blend.
When it comes to blending foundation, start with a small amount and gradually build up the coverage as needed.
Use a damp makeup sponge or a dense brush to blend the foundation onto your skin in gentle tapping or sweeping motions.
Pay attention to areas where you need more coverage, such as blemishes or redness, and ensure that the foundation seamlessly merges with your skin.
For concealer, choose a shade that matches your foundation or is slightly lighter to brighten the under-eye area.
Using a small brush or a sponge, apply the concealer in a triangular shape under your eyes and blend it outwards. This technique helps to cover dark circles and create a lifted effect.
When it comes to eyeshadow, blending is crucial to create a seamless transition between colors and to avoid any harsh lines.
Start with a transition shade and blend it into the crease using a fluffy brush. Then, apply a deeper shade on the outer corner of the eye and blend it towards the center. Use a clean brush to soften any edges and ensure a well-blended look.
Investing in high-quality brushes and makeup sponges can make a significant difference in the final result of your makeup.
Opt for brushes with soft bristles that are suitable for the specific product you’re applying. Makeup sponges, on the other hand, are great for achieving a flawless and airbrushed finish.
Dampen the sponge before use to prevent it from absorbing too much product and gently bounce it on your skin to blend the makeup seamlessly.
Remember, blending is a skill that improves with practice, so don’t be afraid to experiment with different techniques and tools to find what works best for you.
4. Overdoing the Contour
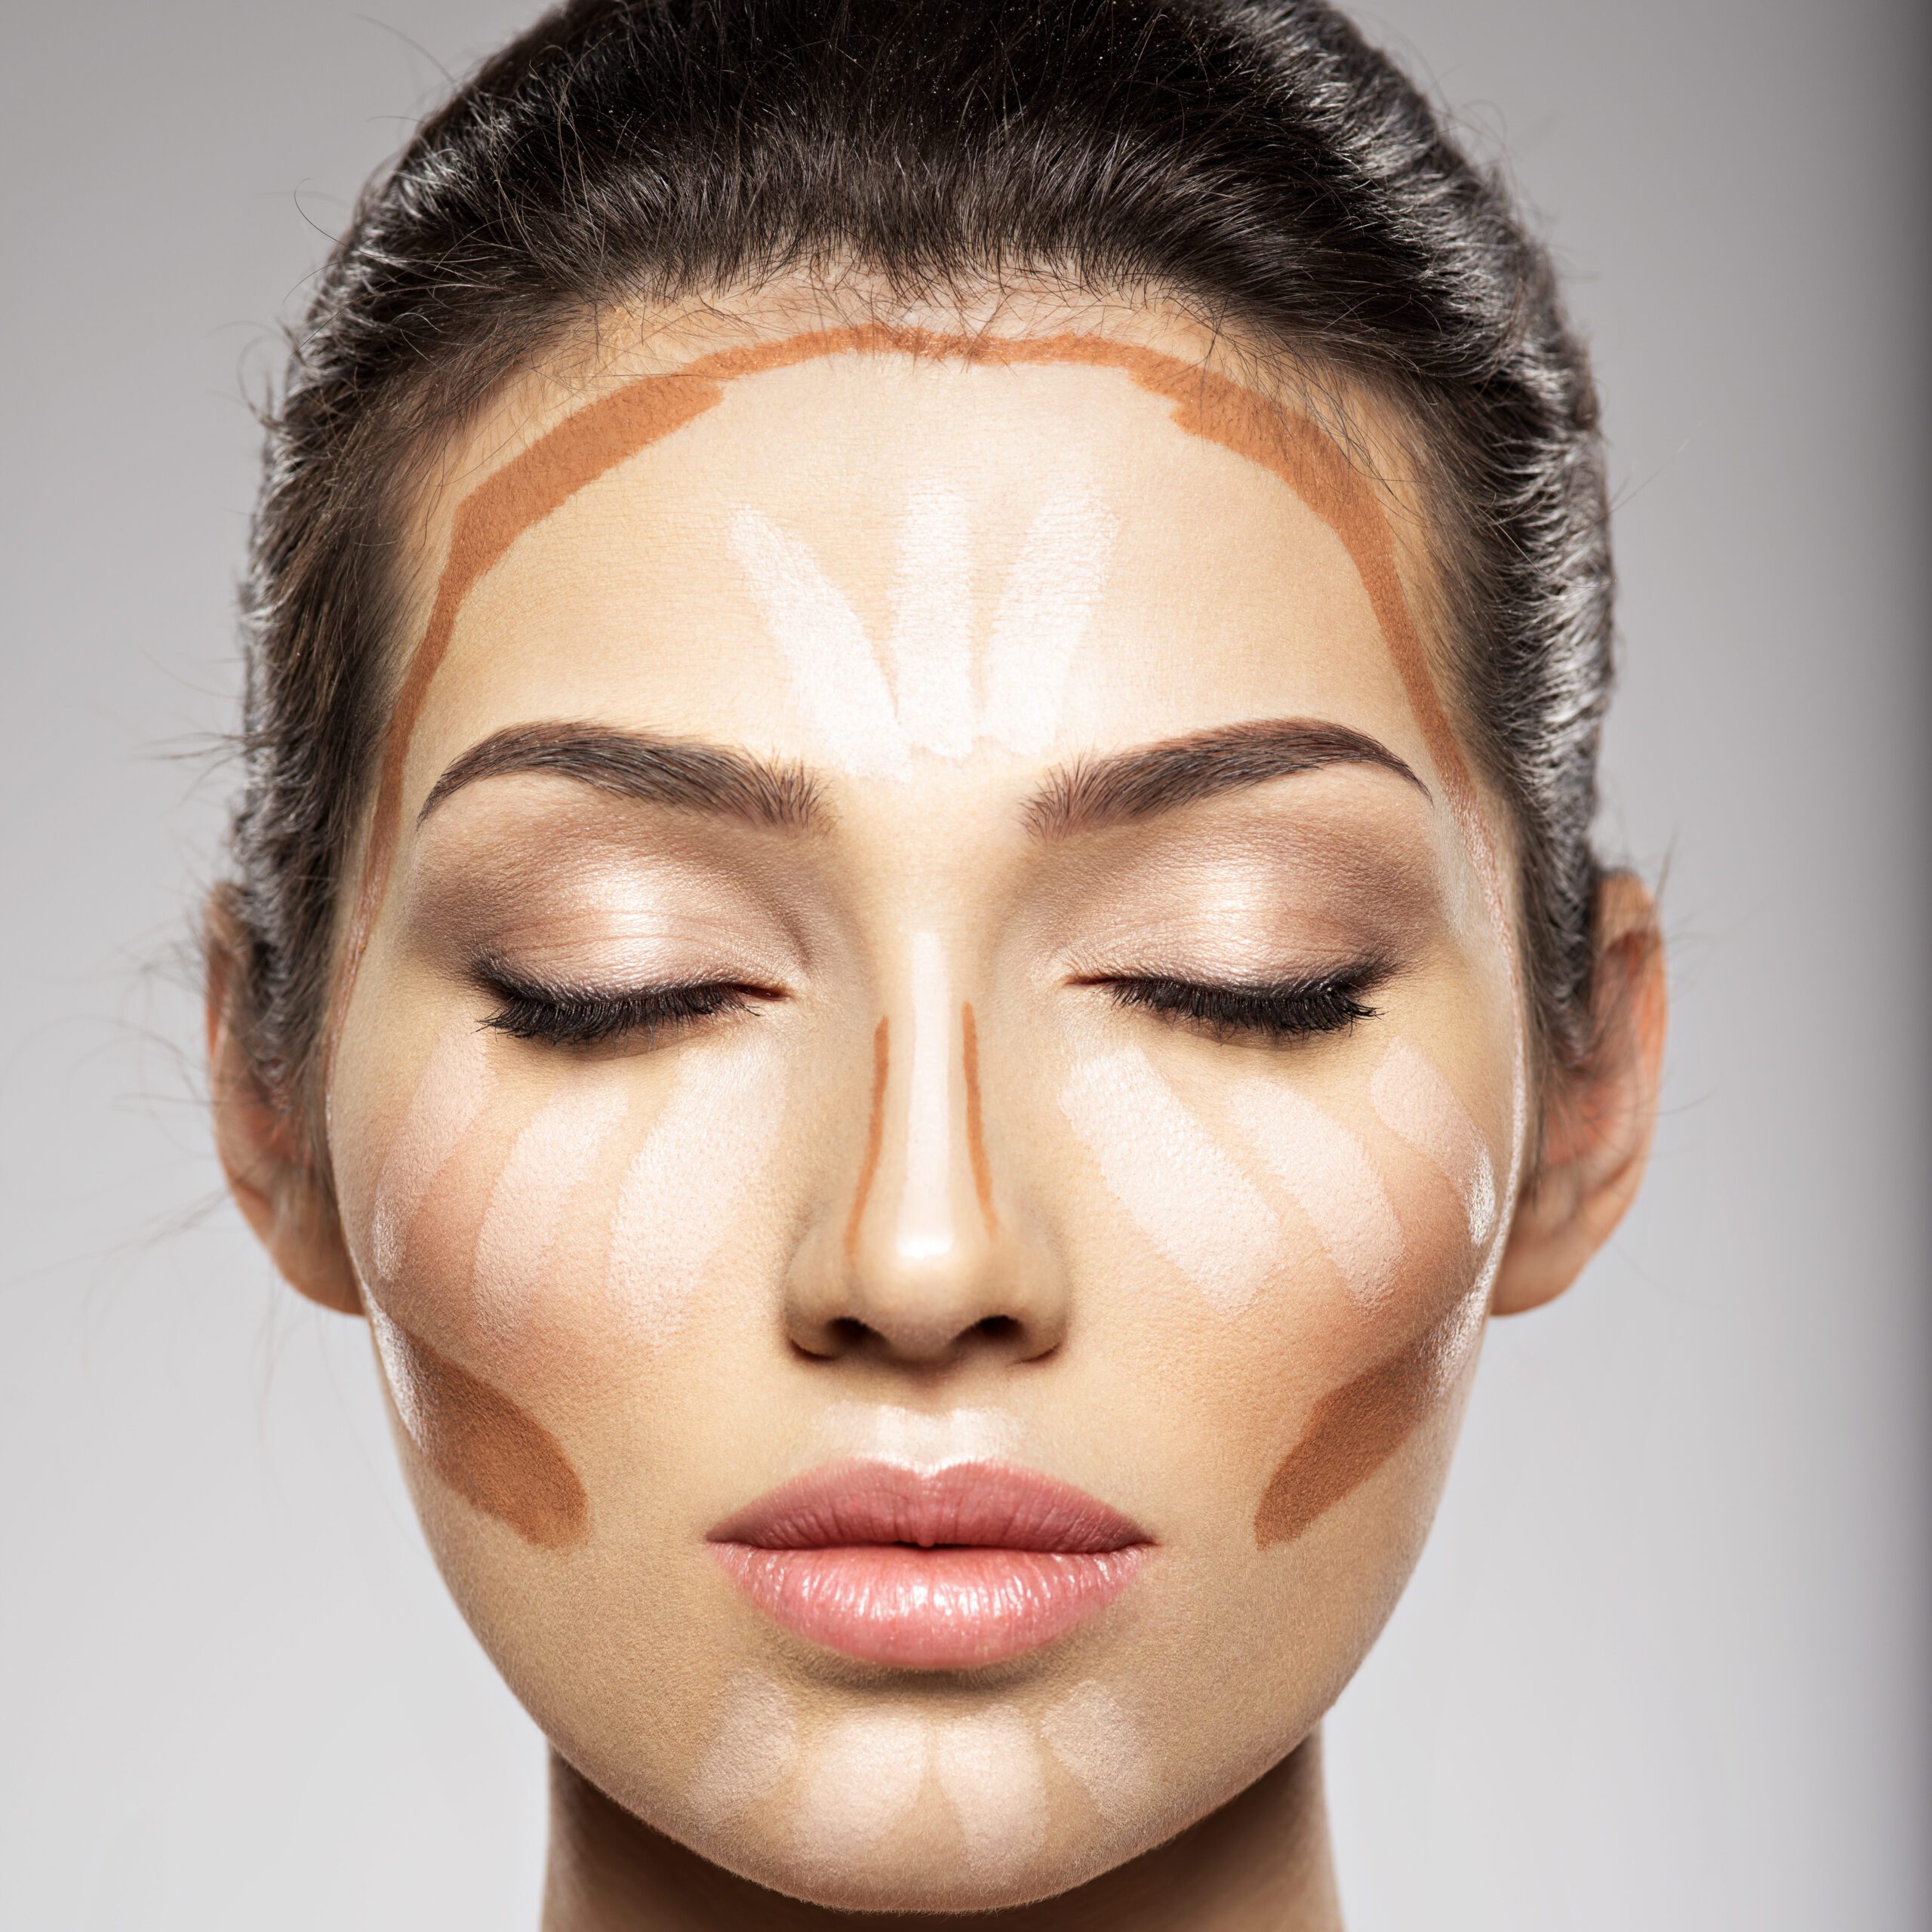
Contouring has become popular in recent years, but it’s really important to avoid overdoing it. Applying too much contour product or using shades that are too dark can result in an unnatural and muddy appearance.
Don’t forget, the goal of contouring is to enhance your natural features subtly, so use a light hand and blend thoroughly for a natural-looking sculpt.
When contouring, choose a shade that is slightly darker than your natural skin tone and has cool undertones.
This will create a shadow effect that mimics the natural contours of your face. Avoid using shades that are too warm or orange-toned, as they can look unnatural.
To contour, start by sucking in your cheeks and applying the contour shade in the hollows of your cheeks using a small, angled brush.
Blend the product upwards towards your temples in a windshield wiper motion to ensure a seamless finish.
You can also contour the sides of your nose, the jawline, and the perimeter of your face if desired, but remember to blend thoroughly to avoid harsh lines.
For a more natural contour, consider using cream or liquid products instead of powders. Cream and liquid formulas tend to blend more seamlessly into the skin, creating a subtle and natural-looking effect.
Apply the product using your fingertips or a damp sponge, and blend it out using gentle tapping motions.
Remember, less is more when it comes to contouring. It’s better to start with a light application and gradually build up the intensity if needed.
Take a step back and assess your makeup in natural light to ensure that the contour appears seamless and enhances your features without looking heavy or exaggerated.
You Might Also Like: 5 Simple Ways to Find the Perfect Foundation for Your Skin Tone
5. Ignoring the Eyebrows
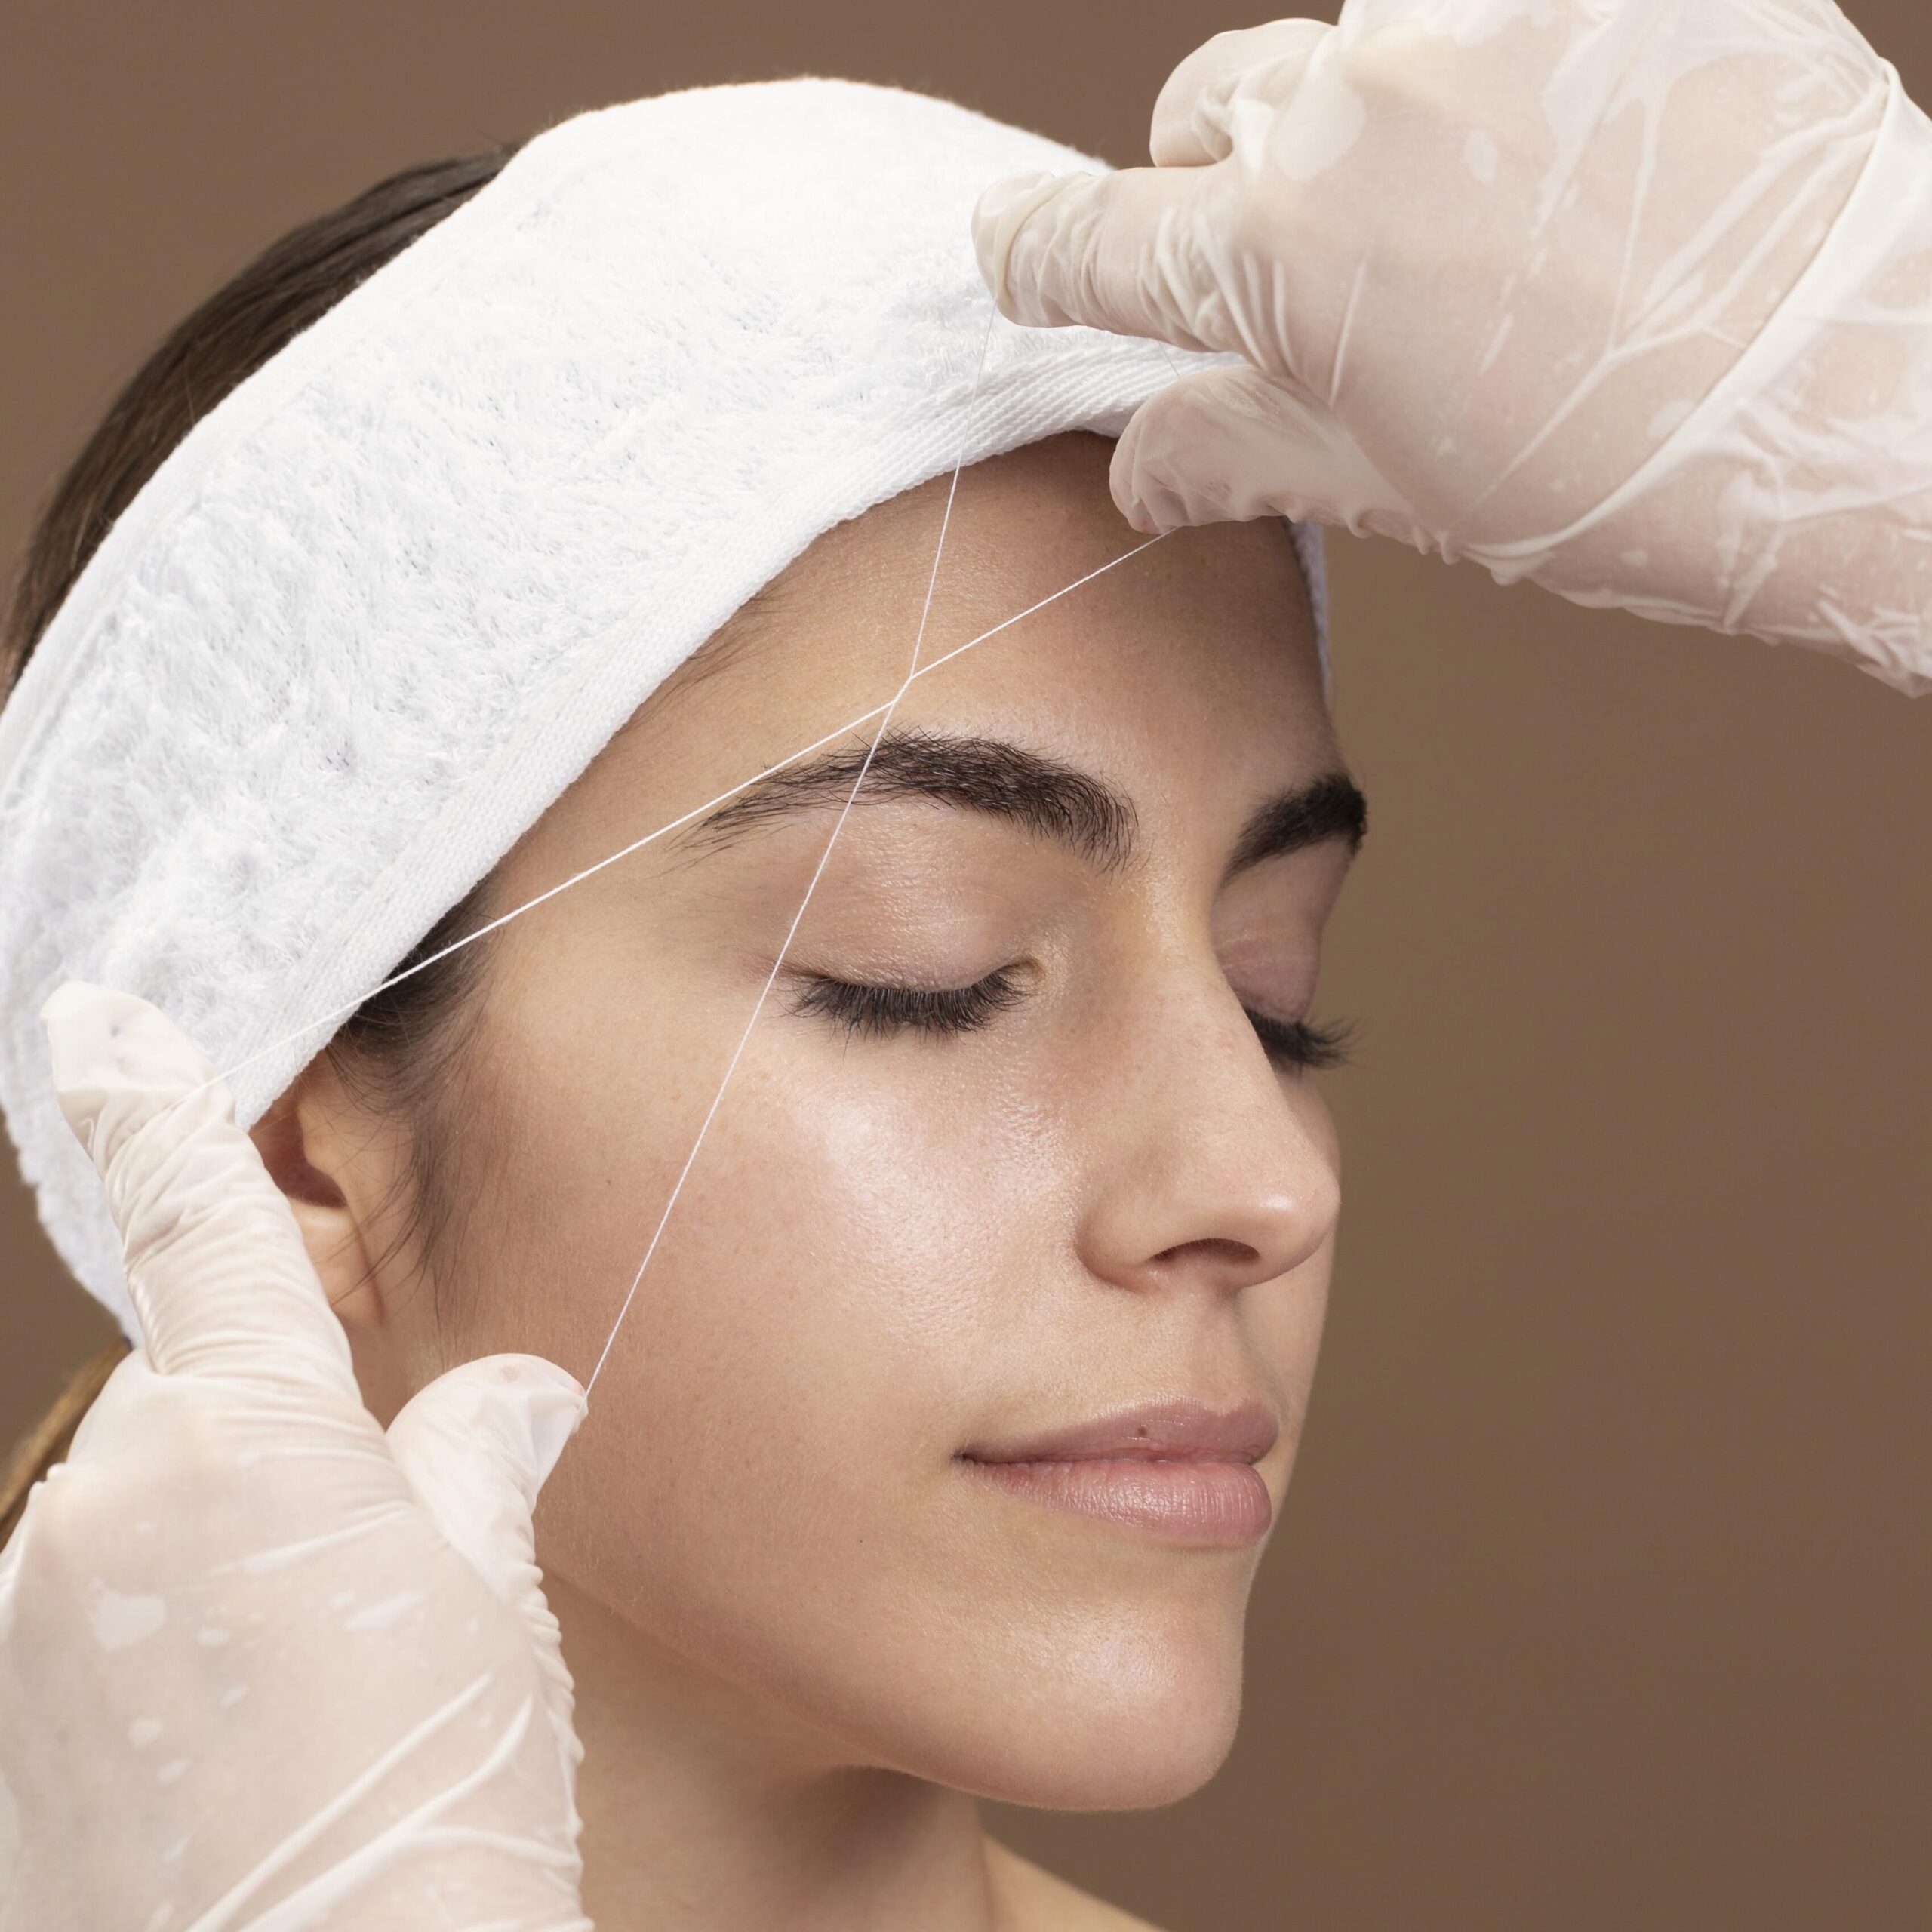
Eyebrows frame the face and can make or break your entire makeup look. Neglecting to groom and fill in your eyebrows can leave your face looking incomplete.
Invest in a good eyebrow pencil or powder to fill in any sparse areas and shape your eyebrows to complement your facial features.
When it comes to eyebrow grooming, start by plucking any stray hairs that fall outside your natural brow shape.
Be careful not to overpluck, as sparse brows can be challenging to fill in. If you’re unsure about your brow shape, consider visiting a professional eyebrow stylist to get them shaped according to your face shape and preferences.
To fill in your eyebrows, choose a product that matches your hair color and has a formula that suits your preference – whether it’s a pencil, powder, or pomade.
Start by lightly outlining the bottom and top of your brows, following their natural shape. Then, use small, hair-like strokes to fill in any sparse areas, focusing on the tail of the brow for a defined look.
Use a spoolie brush to comb through the hairs and blend the product for a more natural finish.
If you have naturally full brows, consider using a tinted brow gel to lightly groom and set them in place. This will give your brows a polished look without the need for additional filling.
Choose a shade that matches your hair color and use gentle upward strokes to distribute the product evenly.
Ultimately, well-groomed eyebrows can enhance your overall makeup look and create a more polished appearance.
Experiment with different techniques and products to find the eyebrow routine that suits your preferences and complements your facial features best.
6. Applying Too Much Powder
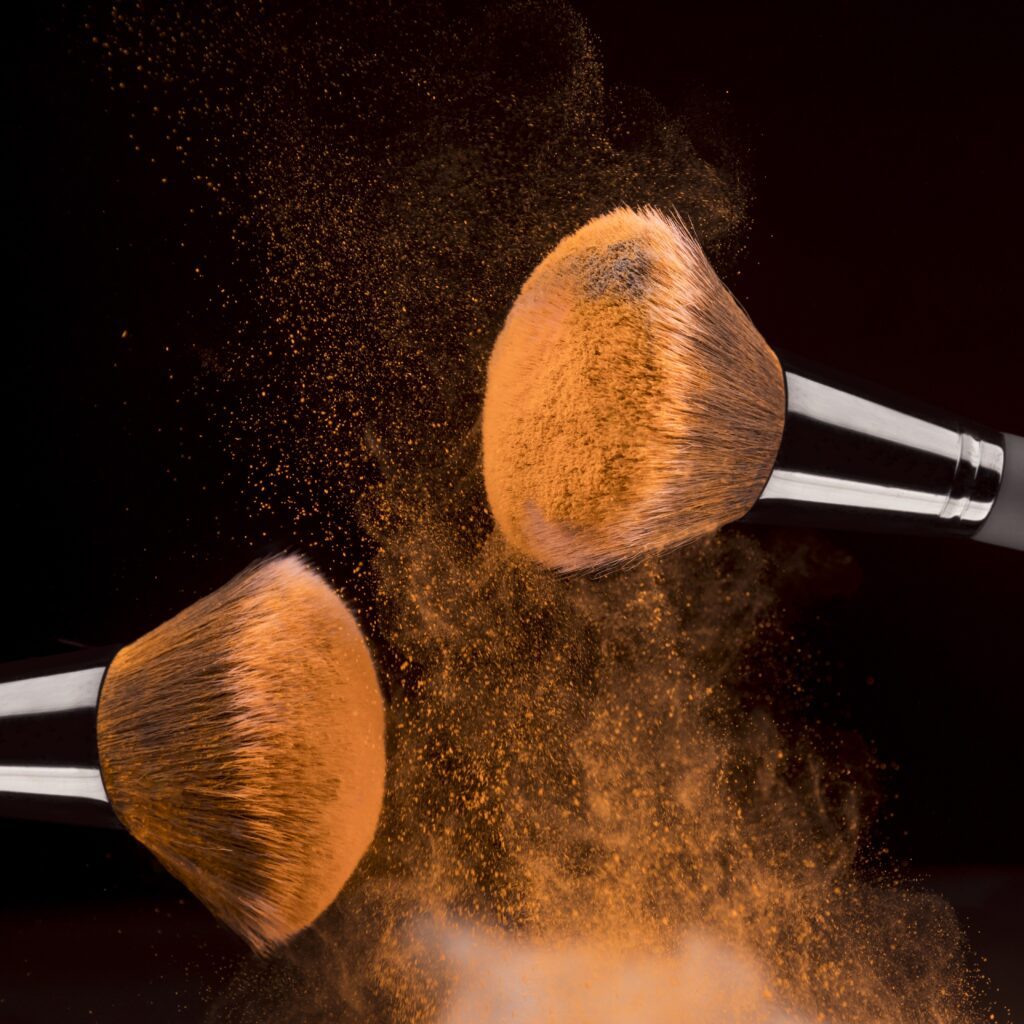
Powder is essential for setting your makeup and controlling shine, but applying too much can give your skin a cakey and unnatural appearance.
Instead, use a light hand when applying powder and focus on the areas that tend to get oily, such as the T-zone. Opt for a translucent powder or a finely milled powder to avoid a heavy finish.
When it comes to powder application, the goal is to set your makeup without adding excess product. Start by using a fluffy brush to lightly dust the powder onto your skin, focusing on areas that tend to get shiny throughout the day. These areas typically include the forehead, nose, and chin.
Avoid applying powder all over your face unless necessary, as this can result in a matte and flat finish that lacks dimension.
If you have dry or combination skin, consider using a setting spray or a hydrating mist instead of powder to set your makeup. This will help to lock in your makeup while maintaining a natural and dewy glow.
If you prefer a matte finish or have oily skin, choose a translucent powder or a powder that matches your skin tone.
Using a powder puff or a dense brush, press the powder onto your skin in a rolling motion to set your foundation and concealer. Remember to tap off any excess powder before applying it to your face to avoid a heavy application.
It’s important to note that different powders have different finishes and textures. Experiment with various formulas to find one that suits your skin type and desired outcome.
Whether it’s a loose powder, a pressed powder, or a setting powder, choose a product that feels lightweight on your skin and doesn’t accentuate any dryness or texture.
7. Neglecting the Lip Care
Often, individuals forget about taking care of their lips while focusing on the rest of their makeup routine. Dry and chapped lips can make even the most beautiful lip color look unappealing.
Prioritize lip care by exfoliating your lips regularly and applying a hydrating lip balm before applying any lip color. This will ensure a smooth and flawless application.
To keep your lips soft and smooth, incorporate lip care into your skincare routine. Exfoliate your lips once or twice a week using a lip scrub or a homemade mixture of sugar and honey.
Gently massage the scrub onto your lips in circular motions to remove any dead skin cells and reveal a fresh layer of skin. Rinse off the scrub and apply a nourishing lip balm to hydrate and protect your lips.
Before applying any lip color, it’s essential to prime your lips to create a smooth canvas and enhance the longevity of your lipstick or lip gloss.
Apply a thin layer of lip balm or a lip primer and let it absorb for a few minutes. This will help to prevent your lip color from settling into fine lines or emphasizing dryness.
When choosing a lip color, consider your skin tone and the occasion. Opt for shades that flatter your complexion and complement your overall makeup look.
If you’re unsure, neutral shades such as nude pinks or mauves are versatile options that suit most skin tones.
To apply the lip color, start by lining your lips with a lip liner that matches the shade of your lipstick. This will create a defined shape and prevent the color from bleeding or feathering.
Fill in your lips with the lip color using a lip brush or directly from the bullet. Blot your lips with a tissue and reapply another layer for a long-lasting and vibrant finish.
8. Using Expired Products
Using expired makeup products is not only unhygienic but can also lead to skin irritations and breakouts. Always check the expiration dates of your makeup products and replace them accordingly.
Mascara, for example, should be replaced every three to six months to avoid eye infections. By using fresh and quality products, you’ll achieve better results and protect your skin.
To ensure the safety and effectiveness of your makeup products, it’s important to be aware of their shelf life. Most products have a small symbol on the packaging, typically represented by an open jar icon, followed by a number and the letter “M.” This indicates the number of months the product is considered safe to use after opening.
Mascara, liquid eyeliners, and liquid foundations generally have the shortest lifespan, typically ranging from three to six months.
Cream-based products, such as cream eyeshadows or blushes, can last up to a year. Powder-based products, including eyeshadows, bronzers, and powders, can last up to two years or longer if properly stored.
Aside from expiration dates, pay attention to any changes in the texture, smell, or color of your makeup products.
If a product starts to dry out, separate, or develop an off-putting odor, it’s time to replace it, even if it hasn’t reached its official expiration date.
Properly storing your makeup can also help extend its shelf life. Keep your products away from direct sunlight, excessive heat, and humidity, as these factors can accelerate the product’s deterioration.
In addition, always close the product tightly after each use to prevent the entry of air and bacteria.
9. Neglecting Skincare
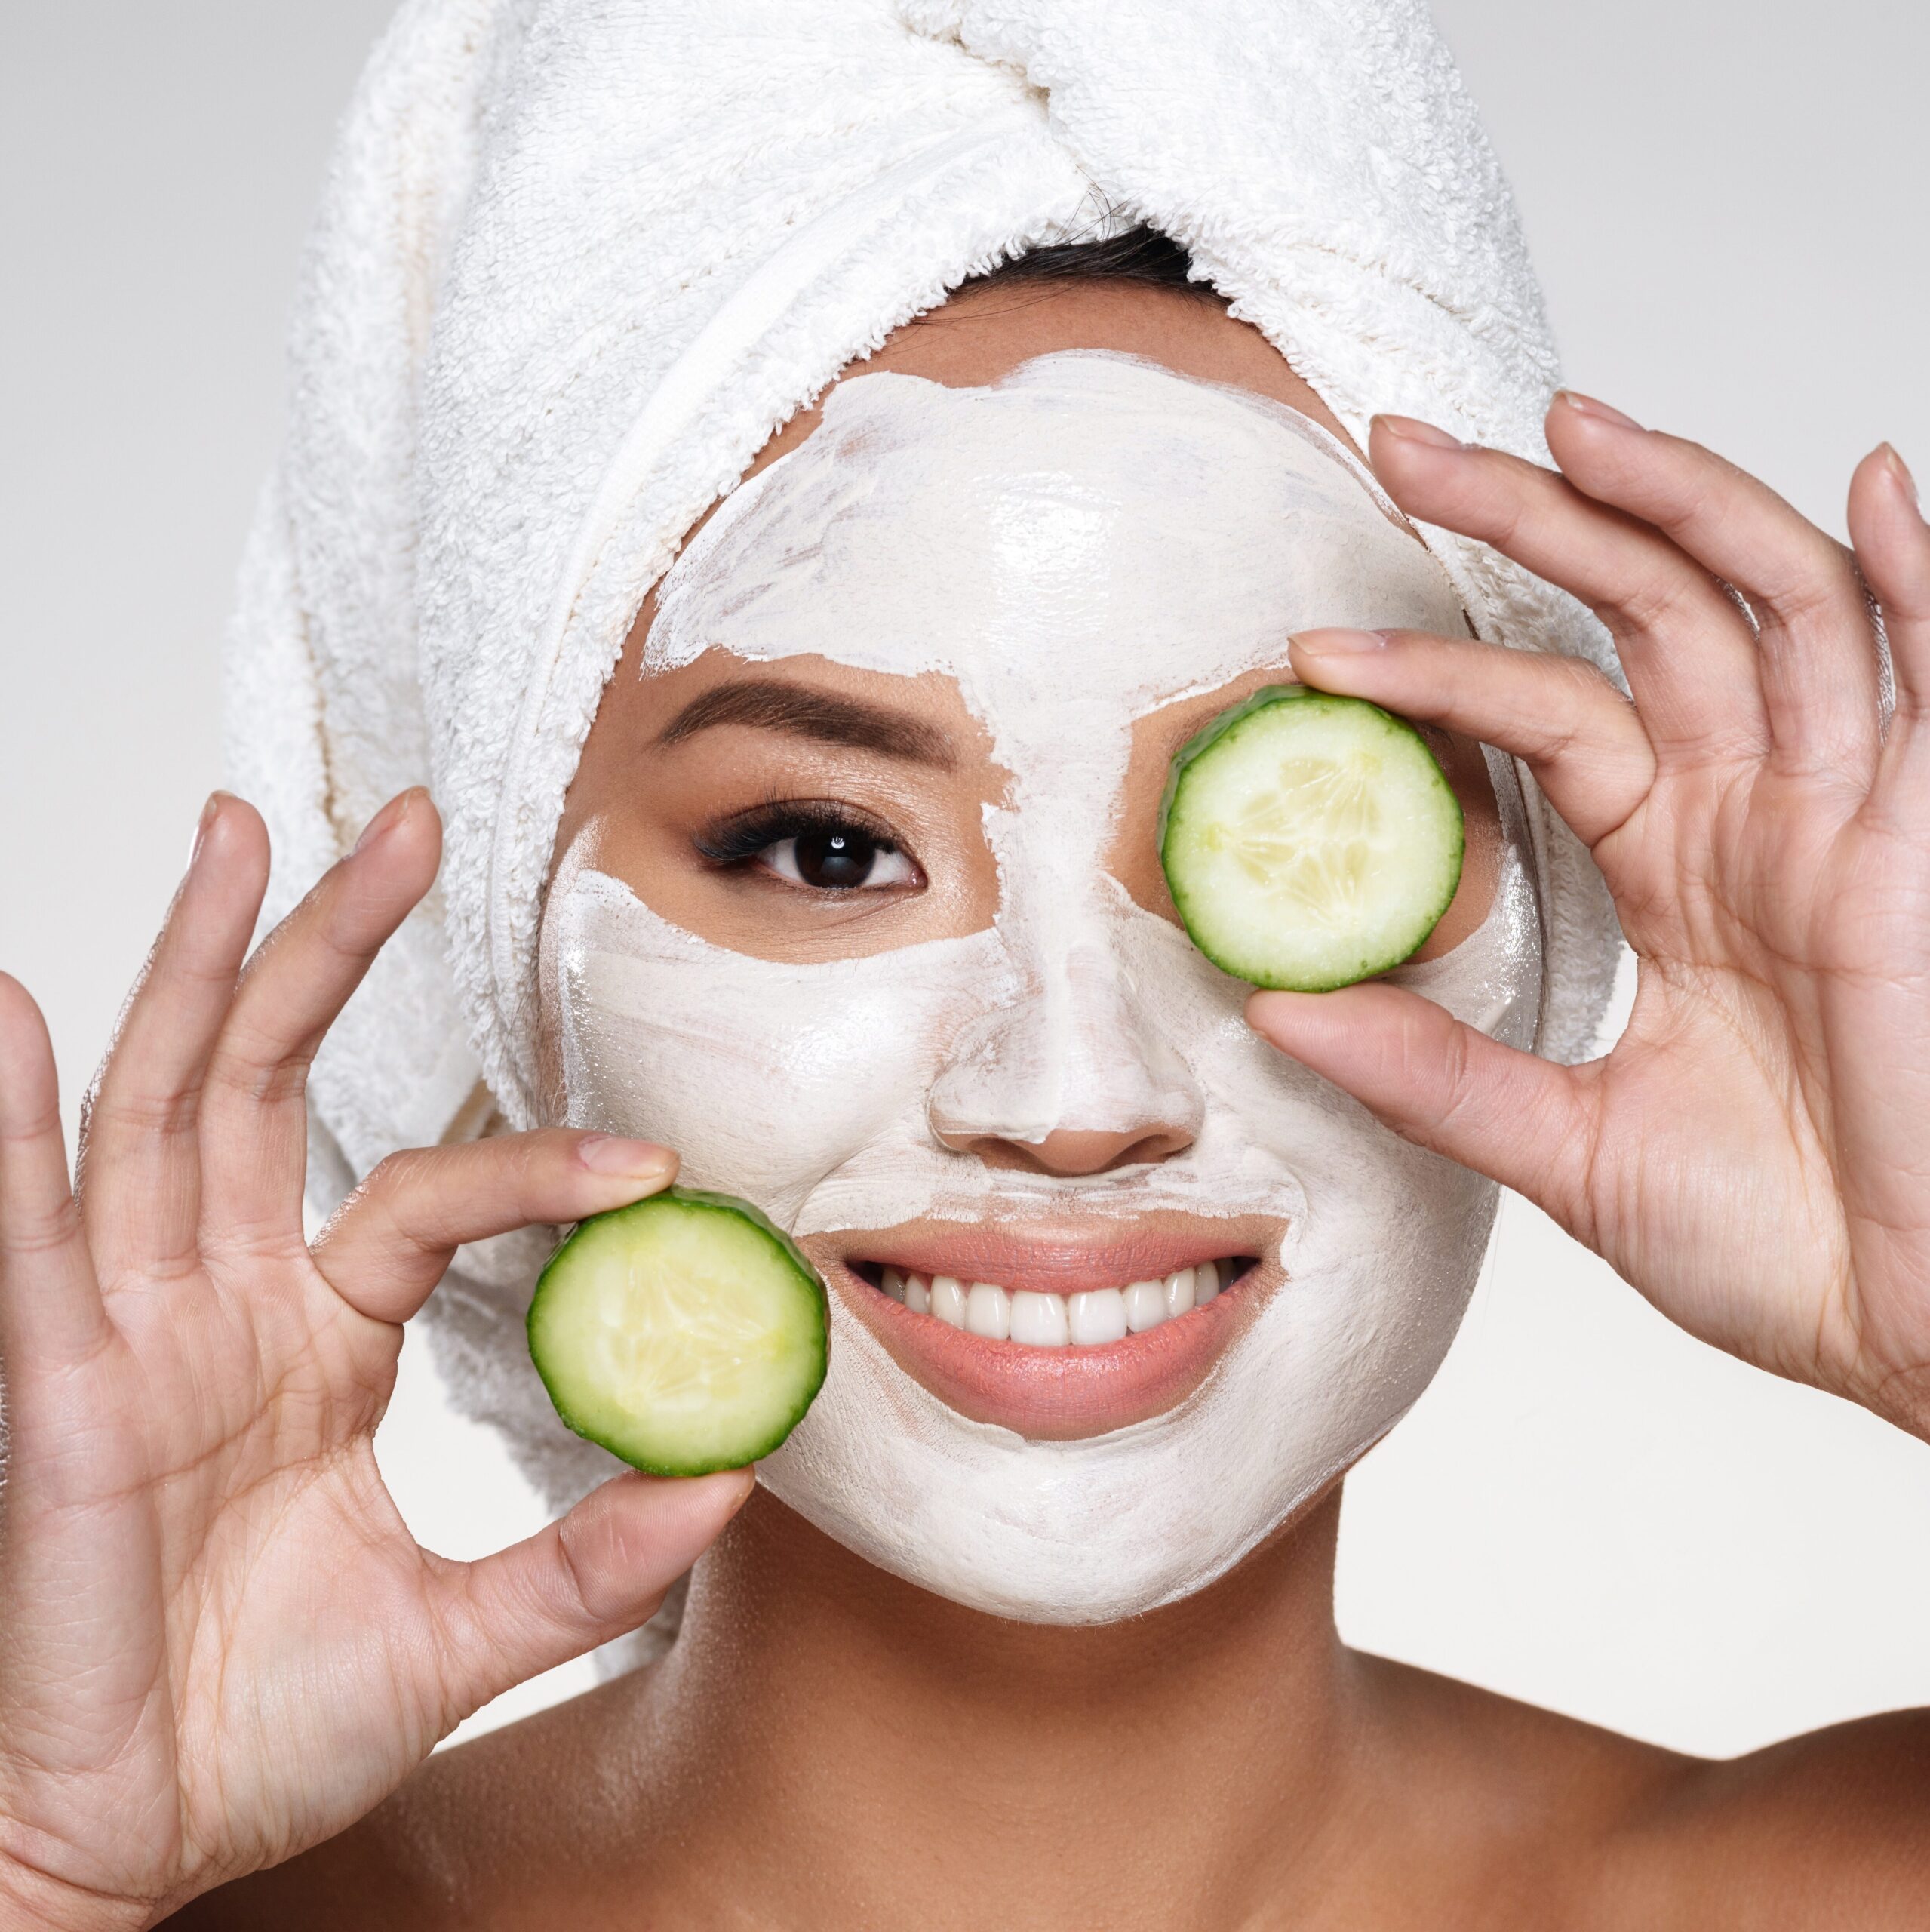
Last but certainly not least, neglecting skincare can have a significant impact on how your makeup looks and lasts throughout the day.
A proper skincare routine that includes cleansing, moisturizing, and protecting your skin from the sun’s harmful rays will create a smooth canvas for your makeup application.
Start your skincare routine by cleansing your face with a gentle cleanser suitable for your skin type. This will remove any dirt, oil, and makeup residue, allowing your skin to breathe and absorb skincare products more effectively.
Follow up with a toner to balance your skin’s pH levels and prepare it for the subsequent steps.
Next, moisturize your skin with a lightweight and hydrating moisturizer. This will replenish moisture and create a smooth base for your makeup.
Choose a moisturizer that suits your skin type – whether it’s dry, oily, combination, or sensitive – and apply it evenly to your face and neck.
You Might Also Like: 12 Must-Follow Makeup Steps For Long Lasting Coverage
FAQ
1. Why is using a primer important in a makeup routine?
Using a primer helps smooth out the skin’s texture, blur imperfections, and extend the longevity of your makeup. It also creates a barrier between your skin and makeup, preventing clogged pores and breakouts.
2. How do I choose the right foundation shade?
To find the perfect foundation shade, test it on your jawline and ensure that it seamlessly blends with your natural skin tone. Consider factors such as your undertone, complexion, and any specific skin concerns you may have.
3. Why is blending important in makeup application?
Blending ensures a seamless and natural-looking makeup application. It helps avoid harsh lines or uneven patches. Invest in good-quality brushes or makeup sponges to achieve a flawless blend.
4. How do I contour without overdoing it?
When contouring, choose a shade slightly darker than your natural skin tone with cool undertones. Apply it in the hollows of your cheeks and blend upwards towards your temples. Remember to blend thoroughly to avoid harsh lines.





Leave a Reply
You must be logged in to post a comment.