Diving into the world of makeup can be both exhilarating and overwhelming for beginners. With no rigid rules, the key is to find what elevates your comfort and confidence, starting with the basics like skincare preparation and essential makeup items such as mascara and lipstick.
It’s also crucial to understand the role of proper hygiene in makeup application, including the importance of starting with a clean face, keeping brushes clean to ward off bacteria, and the necessity of removing makeup before sleep.
This guide offers comprehensive makeup tips for beginners, aiming to demystify makeup application and help you achieve that coveted natural makeup look.
With a focus on understanding your skin type and mastering basic makeup tutorials, it covers everything from achieving easy makeup looks with a simple kit to detailed steps like blush application and creating makeup looks that are easy and impactful.
Whether you’re curious about basic makeup steps for beginners, how to apply makeup step by step, or just looking for easy makeup ideas for beginners, these insights will serve as your go-to guide for all things makeup.
Busy? Save this pin for later.
1. Understanding Your Skin Type
Understanding the nuances of your skin type is a cornerstone in crafting a makeup routine that enhances rather than detracts from your natural beauty.
Here’s a straightforward guide to identifying and caring for your skin type:
-
Oily Skin:
- Characteristics: An excess of sebum gives a shiny, greasy appearance. Prone to acne, blackheads, and whiteheads.
- Care Tips: Opt for nourishing products that hydrate without clogging pores or triggering breakouts. Use oil-free, non-comedogenic, lightweight foundations and primers that control shine and oil production.
-
Dry Skin:
- Characteristics: Produces less natural oil, leading to a dull appearance with potential roughness, flakiness, or scaling. Visible fine lines may be more apparent.
- Care Tips: Seek out gentle, soothing, and hydrating ingredients to maintain the skin’s moisture barrier. Hydrating or moisturizing primers can provide the extra hydration needed.
-
Combination Skin:
- Characteristics: A mix of dry and oily areas, typically with an oily T-zone and dry or normal cheeks.
- Care Tips: Focus on effective cleansing and balanced hydration. A versatile primer can provide a smooth canvas for makeup application.
For those with Sensitive Skin, it’s crucial to recognize that this condition can coexist with other skin types (oily, dry, or normal). Sensitive skin may react with redness, burning, itching, or dryness to certain ingredients or environmental factors. Gentle, fragrance-free primers are recommended to minimize irritation.
Determining Your Skin Type:
- Watch and Wait Method: After cleansing, observe your skin after 30 minutes. Shiny skin suggests oiliness, tight and flaky skin indicates dryness, shine only in the T-zone suggests combination skin, and comfortable, hydrated skin is usually normal.
- Blotting Sheet Method: Post-cleansing, press blotting sheets on different face areas. Abundant oil absorption indicates oily skin, little to no oil suggests dry skin, oil from the T-zone points to combination skin, and minimal oil from all areas likely means normal skin.
- Professional Evaluation: For precise determination, consider a dermatologist’s evaluation using photographic methods.
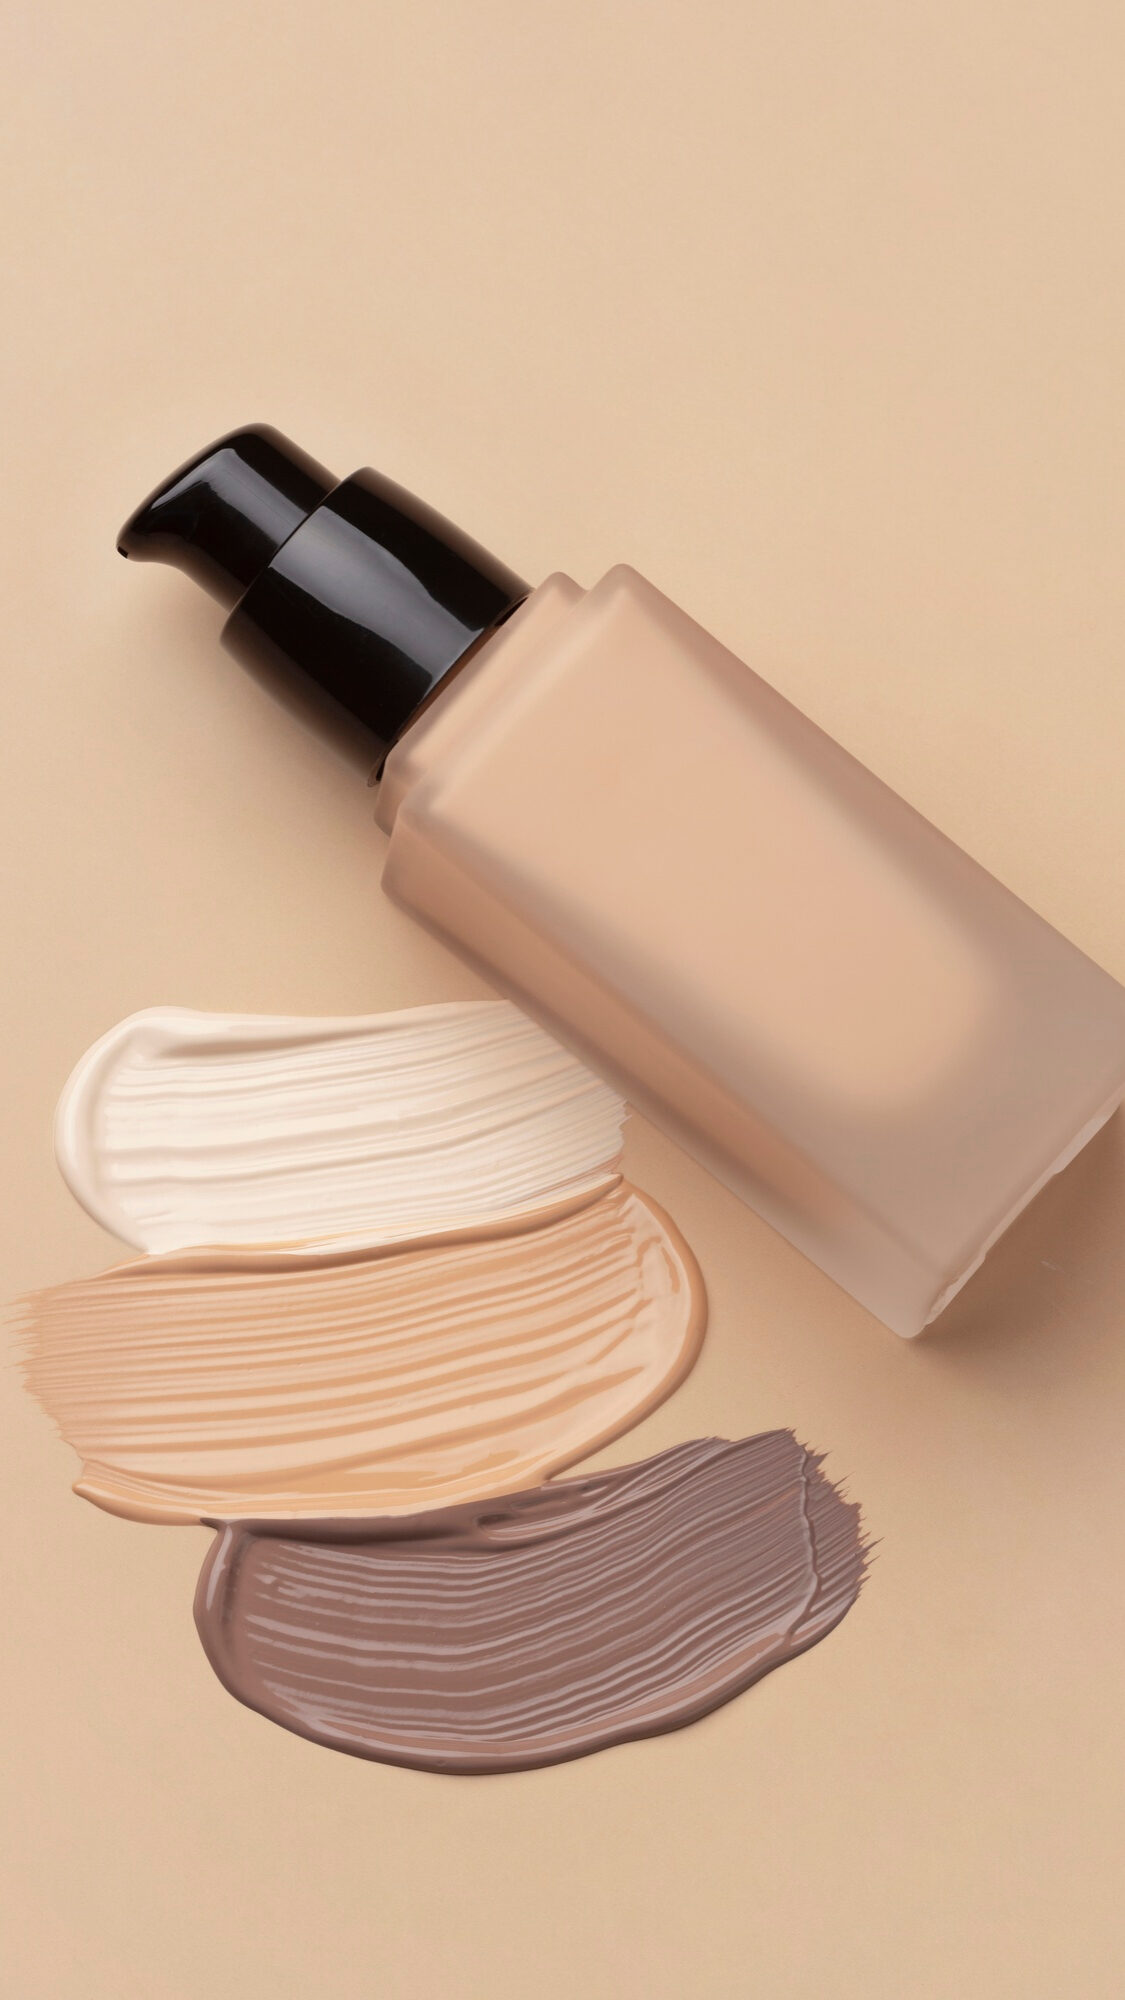
Choosing the right makeup foundation involves matching it to your skin tone and type. The foundation’s finish should complement your skin’s natural tendencies throughout the day.
For instance, full-coverage foundations suit discoloration and long wear needs, while powder foundations are ideal for young, oily, or sensitive skin. Liquid foundations are beneficial for older, drier, or acne-prone skin types, effectively masking wrinkles and deep lines.
You Might Also Like: 7 Awesome Makeup Tips for Girls with Glasses
2. Choosing the Right Primer
Choosing the right primer is pivotal in creating a flawless makeup look that lasts all day.
Here’s a breakdown of primers based on skin type and makeup goals:
-
For All Skin Types:
- Silicone-based Primer: Creates a protective layer that prevents moisture loss and fills in natural creases for a smooth application.
- Barrier Primer: Acts as a shield between skin and makeup, enhancing durability.
- Canvas-like Primer: Prepares a canvas-like layer for makeup to cling onto, ensuring longevity.
-
Based on Specific Needs:
- Anti-Shine Primer: Ideal for oily zones such as the forehead and sides of the nose, controlling shine.
- Illuminating Primer: Best for cheekbones, adding a sheer, radiant glow.
- Eyeshadow Primer: Evens out eyelid tone, making colors pop and last longer. Available in light, tinted, and foundation/concealer forms.
- Spot Concealing: A matte primer under a thick pot of concealer can perfectly blend into spots.
-
By Skin Type:
- Oily Skin: Look for matte finish primers that control sebum and minimize pores.
- Dry Skin: Choose hydrating primers with a dewy finish and nourishing ingredients like vitamin E and aloe vera.
- Combination Skin: Use mattifying primers on oily areas and hydrating ones on dry patches.
- Sensitive Skin: Opt for fragrance-free primers with ingredients like green tea extract or niacinamide to neutralize redness.
Additionally, primers come with specialized features for targeted concerns:
- Blurring Primers: Utilize light-reflecting technology for a soft-focus effect on flaws.
- Color-Correcting Primers: Employ color wheel concepts to conceal complexion issues.
- Anti-Aging Primers: Improve skin texture and tone.
- Pore-Minimizing Primers: Blur pores and offer a matte finish.
Selecting the right primer not only enhances makeup application but also tailors to specific skin needs, ensuring a beautiful, lasting look.
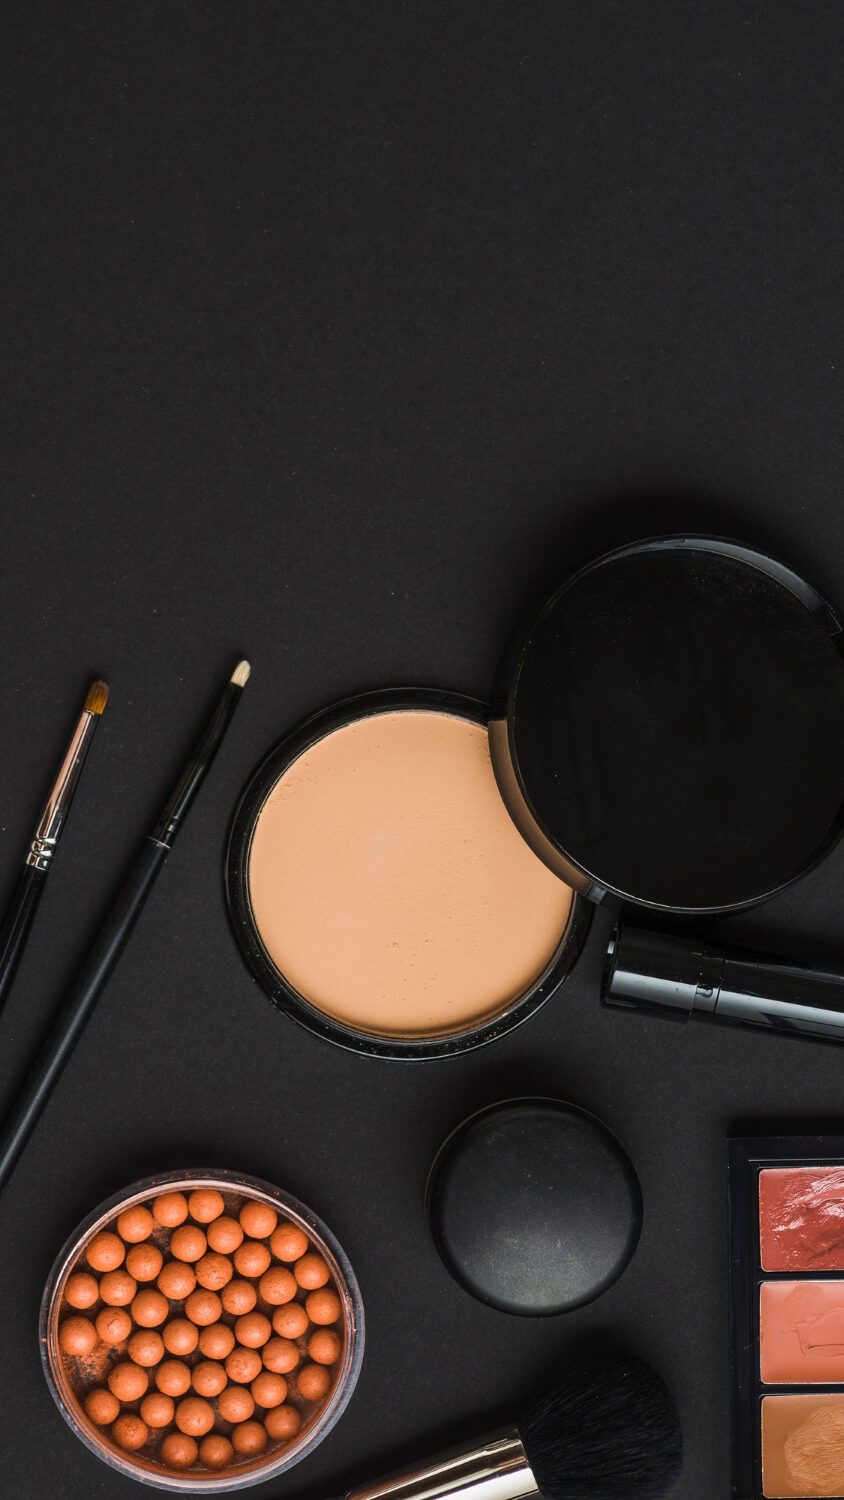
3. Foundation Basics
When embarking on the journey of applying foundation, the tools and techniques used can significantly affect the outcome.
Here are essential tips for achieving a flawless foundation:
-
Powder Foundation Application:
- Tool: Utilize a rounded, fluffy brush with densely-packed bristles.
- Technique: Buff the powder into the skin to create an even and smooth finish.
-
Liquid Foundation Application:
- Tool: Opt for a damp egg-shaped sponge.
- Technique: Dab and blend the foundation starting from the center of the face and moving outward. Follow up with concealer and set with powder to ensure longevity.
Liquid foundations are favored for their versatility in finishes and coverage levels, making them a recommended choice for beginners seeking a natural look.
The approach to applying foundation involves focusing on areas that truly need coverage. Starting in the center of the face and blending outwards ensures a more natural and seamless finish.
Key to this process is the method of buffing or bouncing the foundation into the skin, which helps to build coverage without streakiness.
For a more natural and skin-like appearance, it’s advisable to use less foundation and invest more time in blending. Long-wearing foundations and concealers are also recommended to maintain the look throughout the day.
A notable technique involves applying foundation all over the face, including under the eyes, to accurately assess the amount of concealer needed.
Lastly, for those seeking a natural finish, silicone-based foundations are a great option, and they can be applied with hands or a brush to match the skin tone perfectly.
4. Concealer Tricks for Perfect Coverage
Before diving into concealer application, it’s essential to prepare the skin to ensure perfect coverage:
-
Skin Prep:
- Hydrate the under-eye area with an eye cream containing hyaluronic acid and ceramides.
- Cleanse and moisturize the face thoroughly with a rich, yet lightweight moisturizer.
-
Color Correction:
- For dark circles or red spots, a light layer of color corrector should be applied before foundation.
- Use a peach or salmon color corrector to neutralize blue and purple tones in dark circles. Apply it in the inner third of the under eyes and the inner corners of the eye.
Choosing and applying the right concealer:
-
Selecting Concealer:
- Determine the purpose: brightening, concealing darkness, or both.
- For dry skin, opt for a lightweight medium coverage concealer like Lancome Tant Idol Ultra Wear.
- For oily skin, a full coverage option such as Covergirl True Blend Undercover Concealer is recommended.
-
Application Techniques:
- Apply concealer only in the darkest areas to avoid a heavy look. Keep it away from the lash line and the outer half of the under eyes.
- Use a triangle shape application under the eyes for a brightening effect, starting from the inner corner and extending towards the temple.
- Blend using fingertips, a damp beauty blender, or a brush for a natural finish.
-
Setting Concealer:
- Set the under-eye area with a lightweight translucent loose powder like Laura Mercier Translucent Powder to prevent creasing and ensure longevity.
- For the rest of the face, apply a light layer of setting powder to improve the concealer’s longevity.
Additional Tips:
- Concealer shades should be chosen carefully: a light-reflective formula that’s a shade lighter than the skin tone for under-eye brightening and a shade close to the skin tone for spot concealing.
- To achieve maximum coverage, apply concealer two to three shades brighter than the skin tone in the center of the face, let it sit for 15-20 seconds, and blend with a damp beauty sponge.
- For a more defined brow look, outline the desired shape with concealer before filling it in.
- Remember, less is more. It’s better to build up coverage gradually to avoid over-applying concealer.
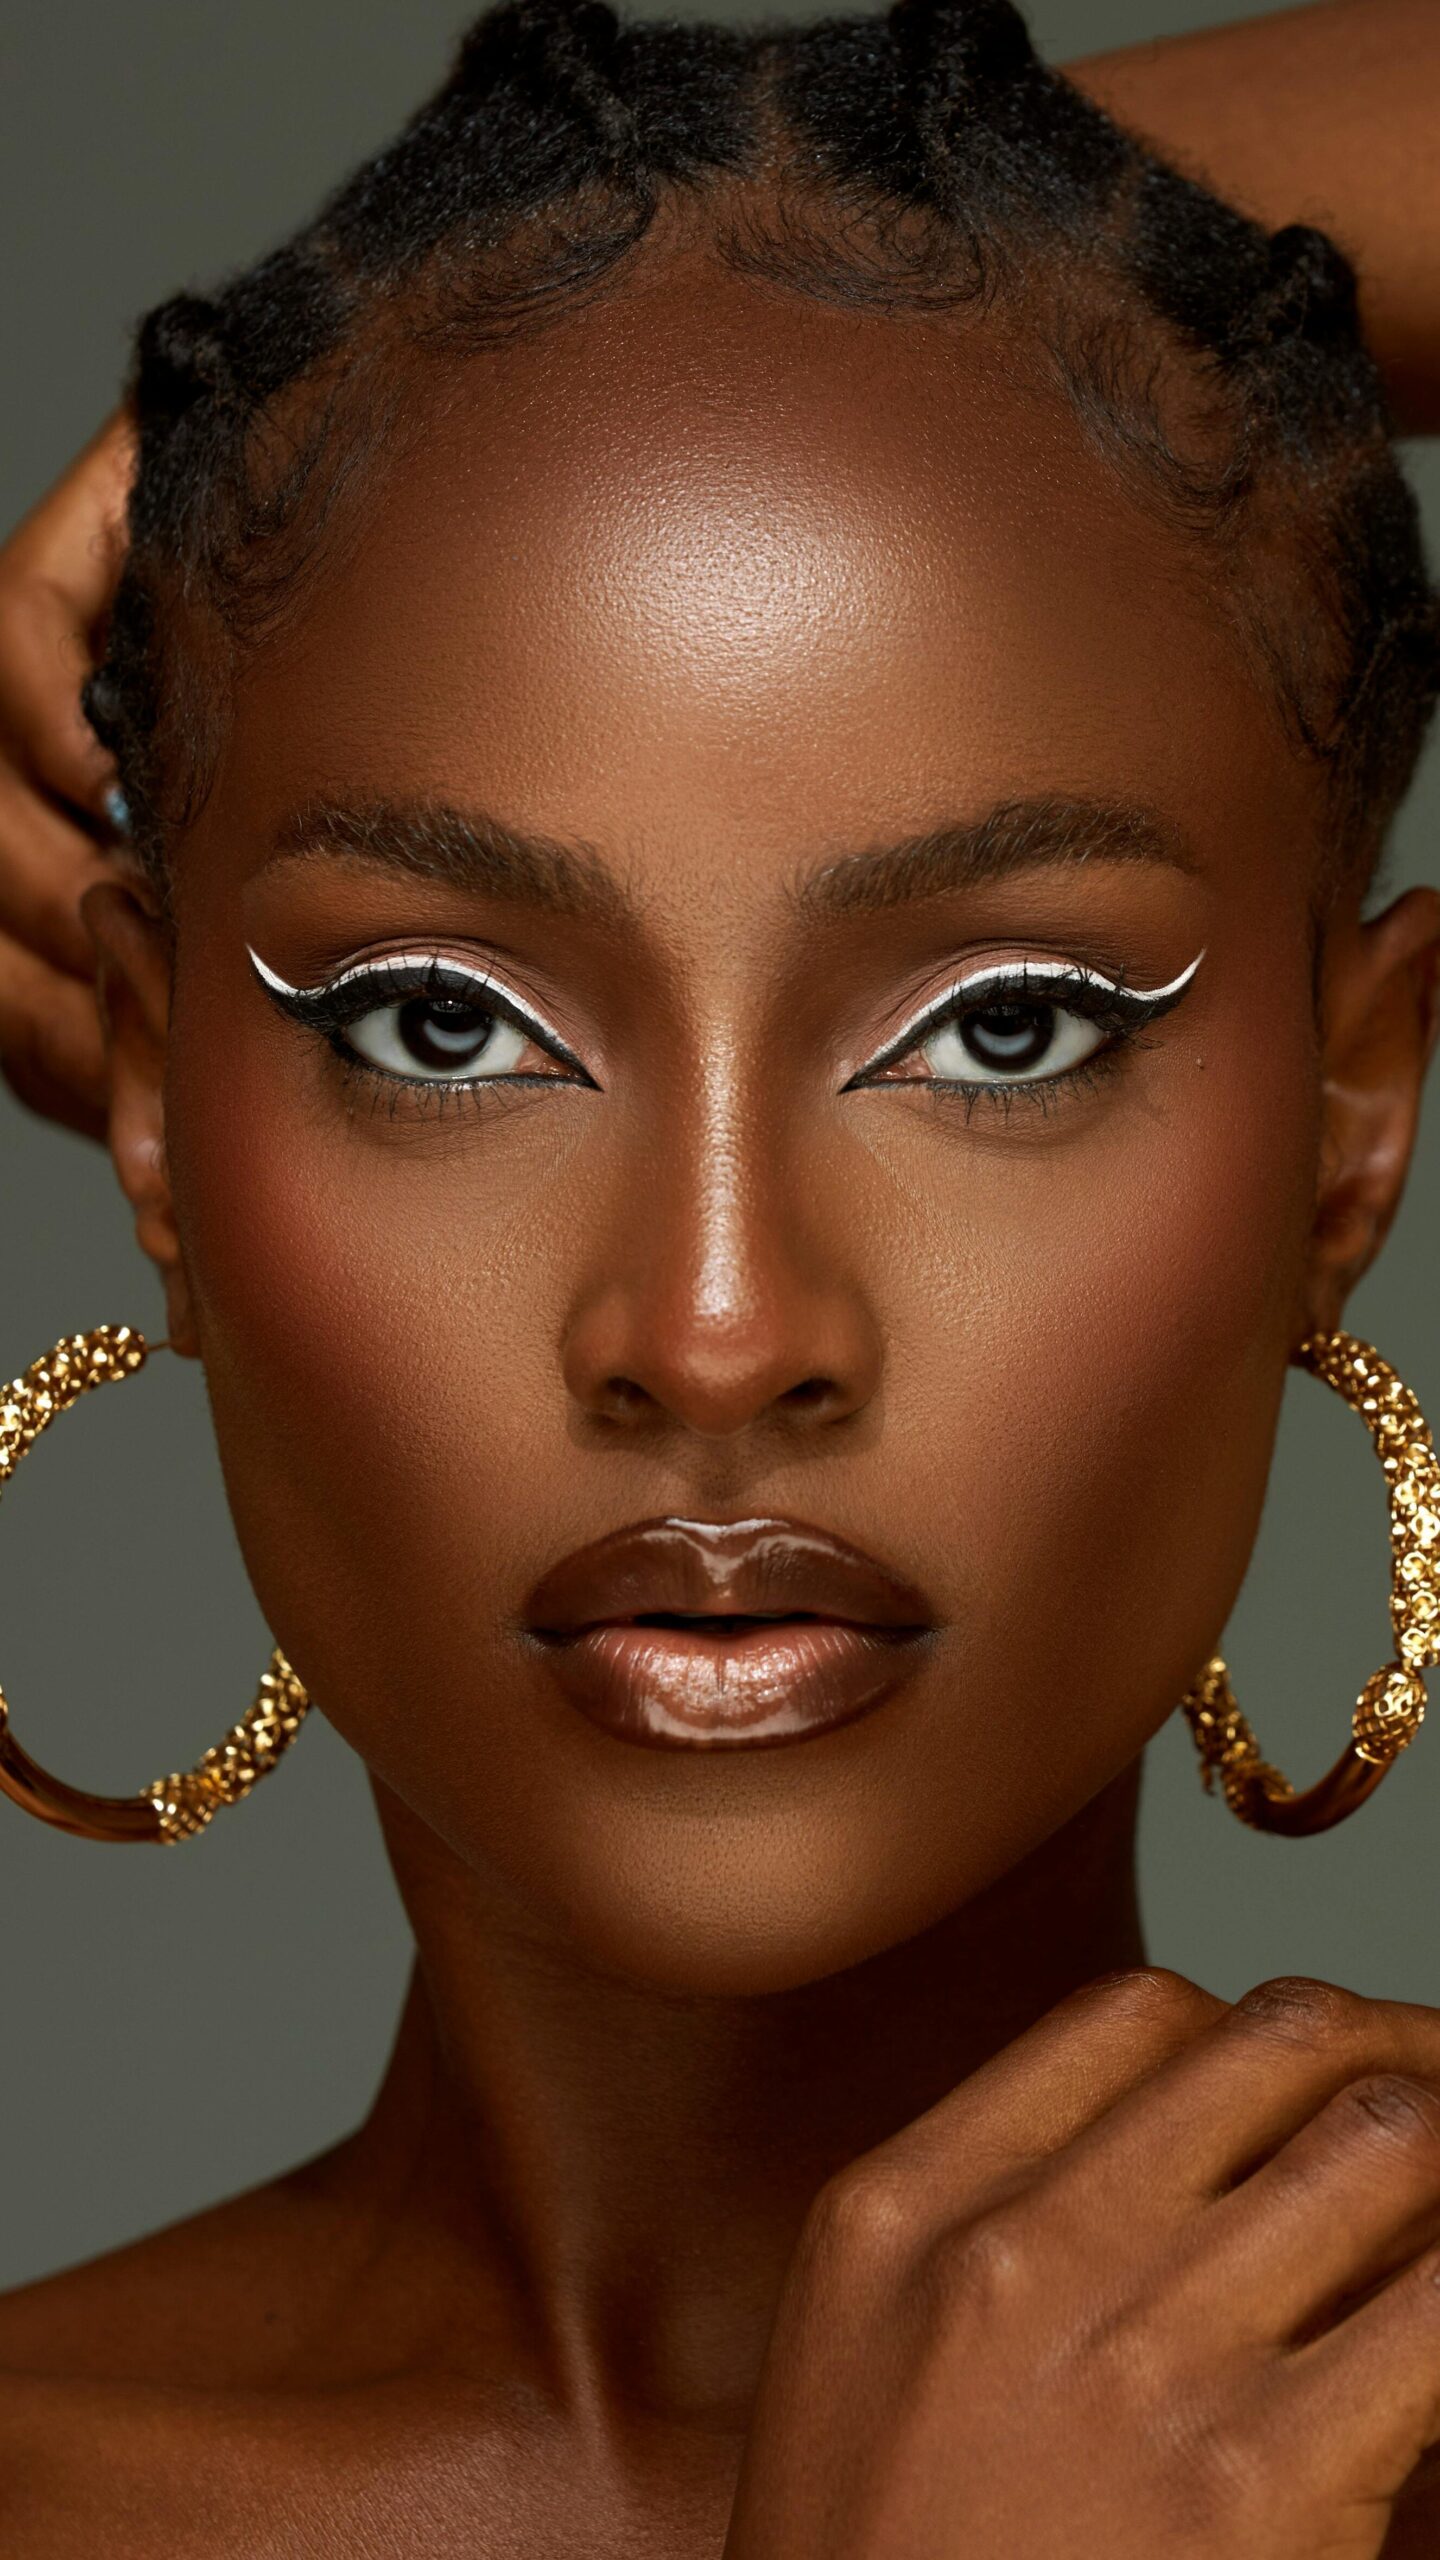
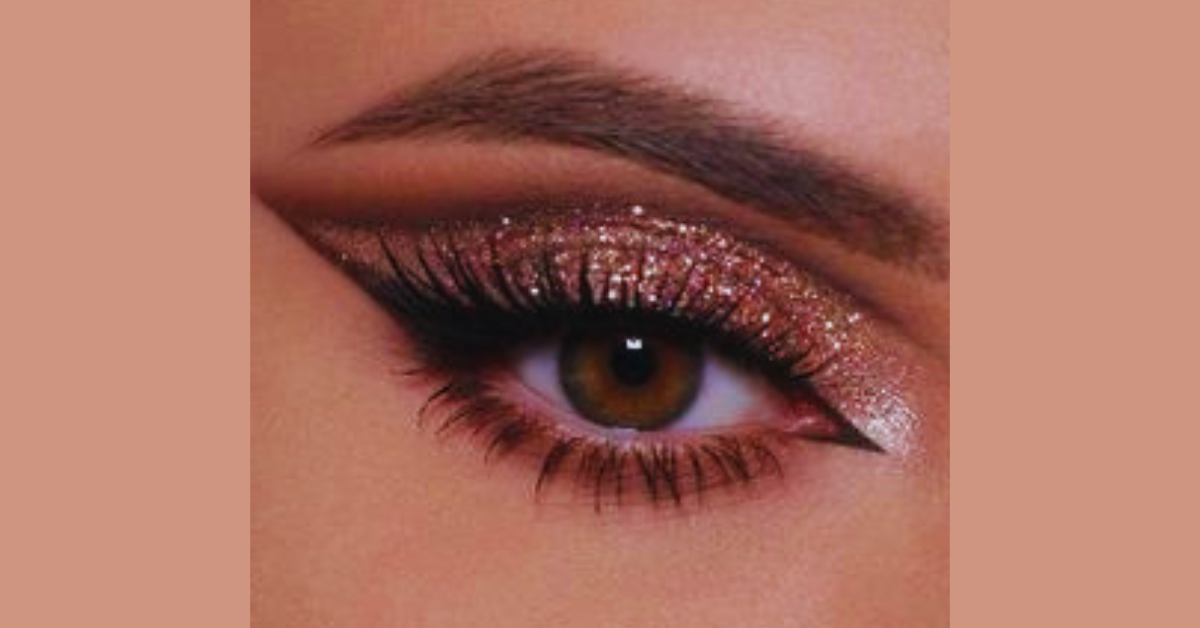
5. Mastering Eye Makeup
For beginners mastering eye makeup, the journey starts with understanding the tools and techniques that can enhance the beauty of the eyes.
Here’s a step-by-step guide to creating captivating eye looks:
-
Preparation:
- Always start with a clean face and apply a lightweight moisturizer to ensure a smooth base for makeup application.
- Apply an eyeshadow primer on the lids to keep eye makeup in place all day, enhancing the pigment and longevity of the eyeshadows.
-
Eyeshadow Application:
- Begin with a neutral color, applying it all over the lid as a base to set the primer.
- Use a medium shade on the outer corner and a lighter shade on the inner corner to open up the eyes. This contrast adds depth and dimension.
- For a soft, smoky look, apply a bronzer in the crease of the eye and blend well.
- Eyeshadows come in various finishes like matte, shimmer, and satin. Opt for matte shades in the crease and shimmer on the lid for a balanced look.
-
Defining the Eyes:
- Eyeliner enhances the shape of the eyes and can create different looks from subtle to dramatic. Apply brown liner on the upper waterline and gently smudge it to define the eye without making it look harsh.
- Mascara is the final touch that makes the lashes look fuller, thicker, and longer. Apply it to both upper and lower lashes, starting at the base and wiggling the wand back and forth for maximum volume.
- For unpredictable weather or long days, opt for waterproof mascara and eyeliner to prevent smudging.
Additional Tips:
- Use a flat eyeshadow brush for packing color onto the lid and a fluffy blending brush for softening edges.
- Highlight the inner corner and brow bone with a light, shimmery shade to brighten the eyes.
- Set your eye makeup with a setting spray or powder to ensure it lasts all day, maintaining the vibrancy and preventing creasing.
You Might Also Like: 5 Things That Should Be Inside Your Makeup Pouch
6. Eyebrow Shaping and Filling
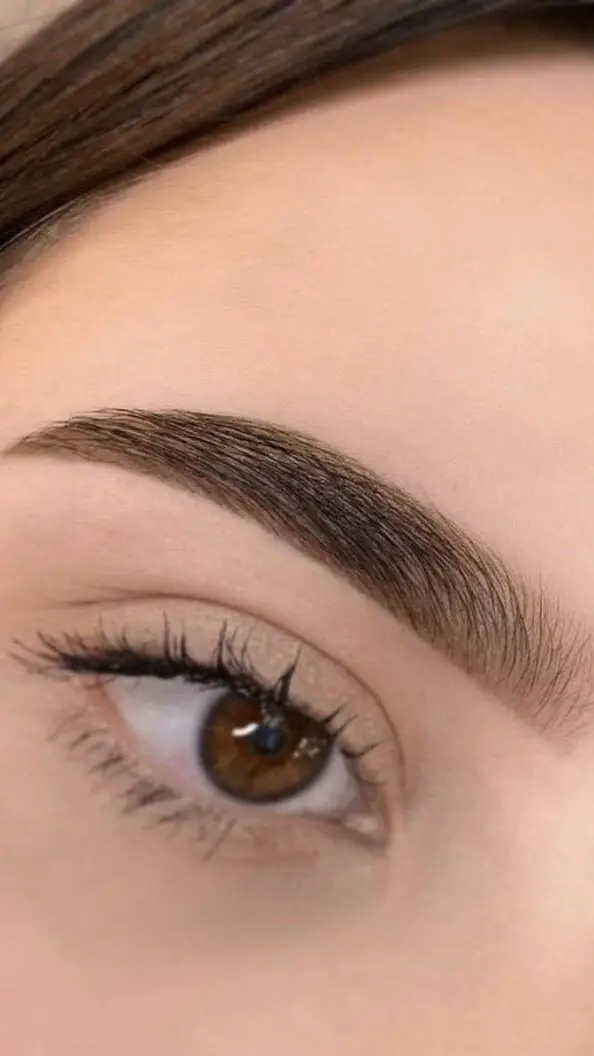
To achieve well-defined and natural-looking eyebrows, follow these step-by-step instructions:
1. Determine Your Ideal Brow Shape:
- Start Point: Align a pencil vertically from the outer edge of your nose to the inner corner of your eye. This is where your brow should begin.
- Arch Point: Line up the pencil from your nose through the middle of your eyeball to find the peak of your arch.
- End Point: Place the pencil from your nose to the outer corner of your eye to determine where your brow should end.
- Shape Based on Face Type: Choose a brow shape that complements your face shape. For example, soft angled for oval faces, high arched for round faces, and angled or curved for square faces.
2. Preparing and Filling the Brows:
- Prep: Brush your brows using a spoolie brush to align the hairs and remove any outliers.
- Fill Sparse Areas: Use a brow pencil or powder to fill in sparse areas. Make hairlike strokes at the front of the brow, applying more pressure at the base and less pressure as you feather up.
- Define Shape: Begin filling in the tail of the brow by underlining it to create a good shape. For more defined arches, pluck a few hairs on the top and/or bottom.
- Blend for Natural Look: After filling, brush through with a spoolie to blend and soften the look. This step is crucial for achieving a natural finish.
3. Setting and Styling the Brows:
- Set with Powder: Apply brow powder, starting at the arch and moving towards the tail, to add depth and dimension.
- Keep Brows in Place: Apply eyebrow gel to keep brow hairs in place. If the brows become too dark, use a brow gel like Benefit Gimme Brow gel to lighten them.
- Adjust for Symmetry: If one brow appears more dramatic than the other, adjust its shape to match the other brow for symmetry.
Additional Tips:
- Maintain Regularly: Use tweezers to pluck unwanted hairs outside of your ideal brow line and consider waxing or threading for removing unwanted hair.
- Lighten or Darken: Use makeup, such as eyeshadow, eyeliner, or brow gel, to style your brows and adjust their color based on your hair color.
7. Applying Blush and Bronzer
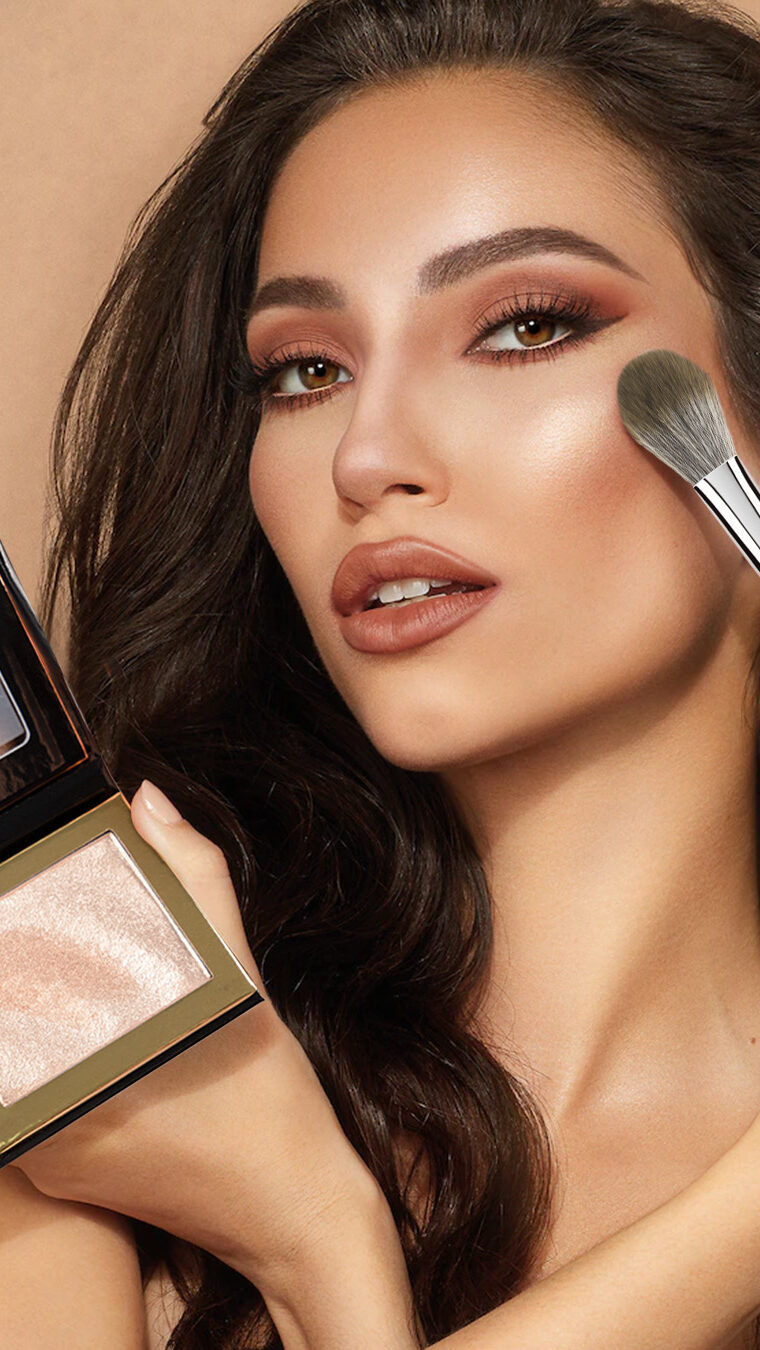
Applying bronzer and blush correctly can elevate your makeup look, giving your skin a healthy, sun-kissed glow.
Here’s how to master these techniques:
Bronzer Application:
- Choosing the Right Shade: Select a bronzer that is about two shades darker than your skin tone to ensure a natural look.
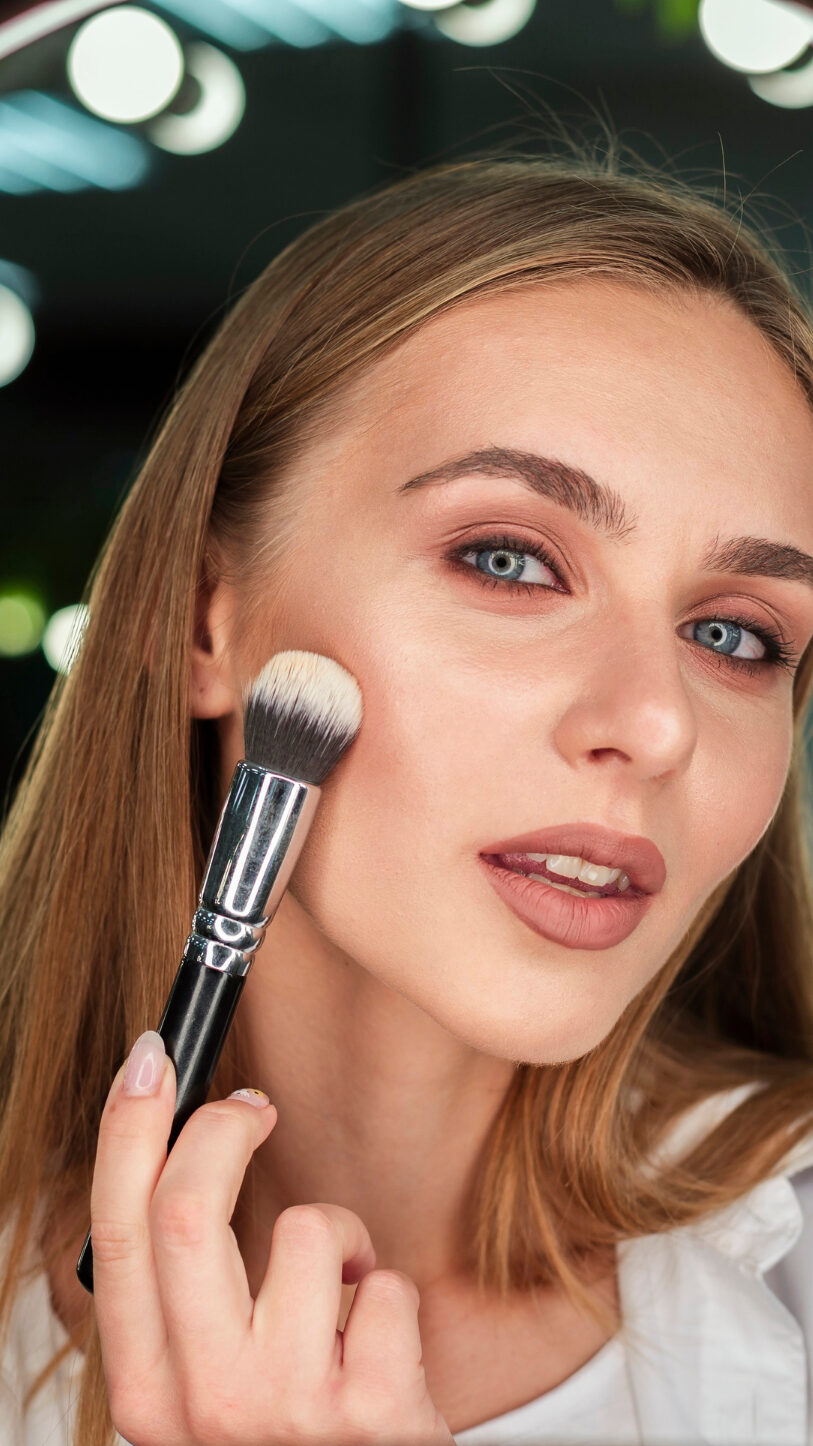
- Tools for Application: Use a dome-shaped brush that’s neither too large nor too small for precise application.
-
Techniques:
- For Contouring: Apply bronzer on the hollows of your cheeks, alongside the nose, on your jawline, and along the hairline to define and sculpt the face.
- For a Bronzed Look: Employ the striping method by applying bronzer in a straight line from cheekbone to cheekbone, across the bridge of the nose, and along your jawline and hairline.
- Sculpting: Start from the top of the ear, working towards the nose and lip area, to avoid product overload and achieve a sculpted look without it becoming cakey.
Blush Application:
- Selecting the Right Color: Choose a blush shade close to your skin tone for lighter skin, and opt for brighter shades for darker skin tones.
-
Application Areas:
- Traditional: Apply blush to the apples of your cheeks and sweep lightly upward towards the sides of your eyes for a flushed appearance.
- Contouring and Highlighting: For a rosy contour, apply blush along your hairline and jawline, or sweep it down the middle of your nose for a highlighted effect.
- Sunburn Blush Strategy: To warm up the skin, apply blush across the cheeks and the bridge of the nose for a fresh, sun-kissed look.
Combining Bronzer and Blush:
- Layering: Apply blush slightly above where bronzer is applied, focusing on overlapping the edge of the bronzer without completely covering it.
- Balance: Use the right amount of each product to avoid overpowering the look. The goal is for each product to complement and enhance the other, creating a cohesive and radiant complexion.
8. Lip Makeup for Every Occasion
To achieve a polished and long-lasting lip makeup look, consider the following steps and product recommendations:
-
Preparation and Application:
- Lip Primer: Begin by applying a lip primer to keep the lip products in place and create a smooth canvas, ensuring that the color adheres better and lasts longer.
- Lip Pencil: Outline and fill in your lips with a lip pencil to enhance their shape and prevent lipstick from bleeding. This step is crucial for defining the lips and acts as a base for lipstick.
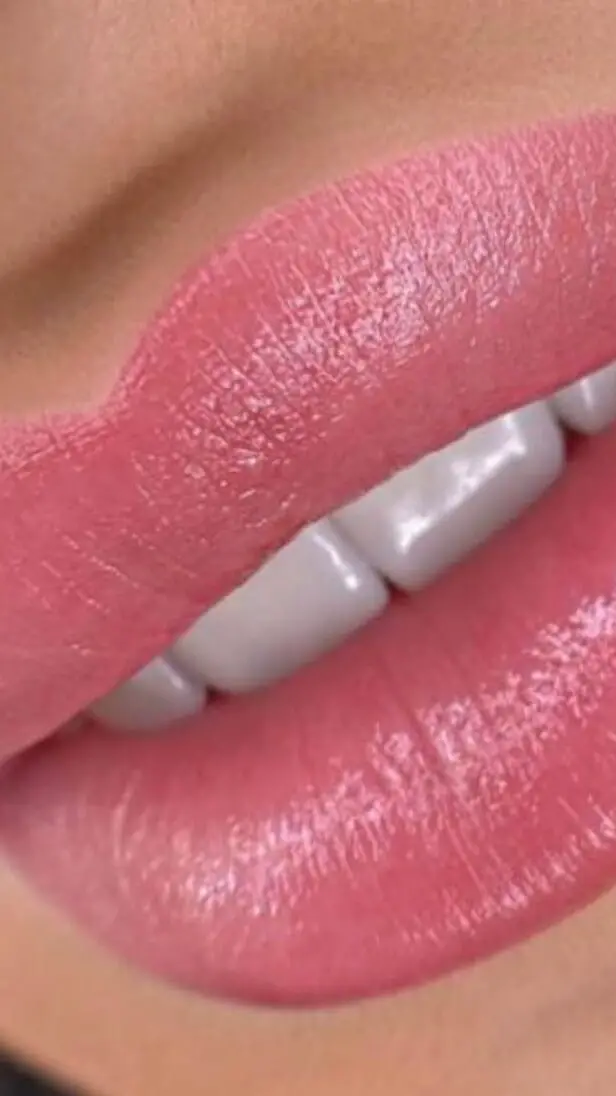
- Lipstick Application: Choose your lipstick texture and color based on the occasion and your skin tone. Apply the lipstick, starting from the center of your lips and moving outward. For a more precise application, use a lip brush.
- Layering for Longevity: After the initial application, blot your lips with a tissue and reapply the lipstick. This layering technique ensures a long-lasting finish.
-
Choosing the Right Color and Texture:
- Based on Skin Tone: For cool undertones, opt for rosy pinks, cool reds, and berry hues; warm undertones are complemented by peach, coral, and terracotta; neutral undertones can pull off a wide range of colors.
- Texture Matters: Satin and sheer textures add a touch of color, creamy textures provide vibrancy, matte textures offer a bold look, glossy textures add shine, and metallic textures create a dramatic effect.
-
Occasion-based Selection:
- Everyday Use: Soft pinks, nudes, and subtle mauves are versatile and suitable for daily wear.
- Professional Settings: For office or job interviews, choose muted, professional shades like rosy nudes or light corals.
- Holidays and Special Events: Opt for classic reds, deep berries, and shimmery metallics to make a statement. Swiss Beauty’s Matte Cat Lip Crayon, Non-Transfer Lipstick, Lip Stain Matte, and HD Matte Lipstick are popular choices for their transfer-proof, non-transferable, long-lasting, and velvety matte finishes.
9. Setting Your Makeup
To ensure your makeup remains impeccable from day to night, following a strategic setting routine is crucial.
Here’s how to lock in your look effectively:
-
Blotting and Powdering:
- Begin by gently blotting any excess oil with blotting papers. This step is essential for maintaining a fresh look without adding layers of product.
- Follow up with a light application of featherweight translucent powder. This helps to seal in your foundation and concealer, preventing unwanted sheen and ensuring a matte finish.
-
Layering Techniques:
- After applying your foundation and concealer, layer your makeup as needed. This could include additional concealer for spot treatment or a cream blush for a pop of color.
- Set each cream-based product with a translucent setting powder. Not only does this absorb excess oil, but it also smooths out the texture, providing a flawless base for any powder products that follow.
- Finish the layering process with a final sweep of translucent powder. This extra step helps makeup last longer, offering extended wear without the need for frequent touch-ups.
-
Locking in With Setting Spray:
- Once your makeup is fully applied and set with powder, complete the routine with a generous mist of setting spray.
- Setting spray acts as a protective shield against humidity, perspiration, and external factors that could cause makeup to smudge or fade.
- For best results, hold the setting spray bottle a few inches away from your face and spray in an “X” and “T” pattern to ensure even coverage.
Throughout the day, if you notice any shine or oiliness, remember to blot, not wipe, to remove excess oil without disturbing your makeup. This approach allows you to maintain a flawless look with minimal effort, ensuring your makeup stays put no matter what the day brings.
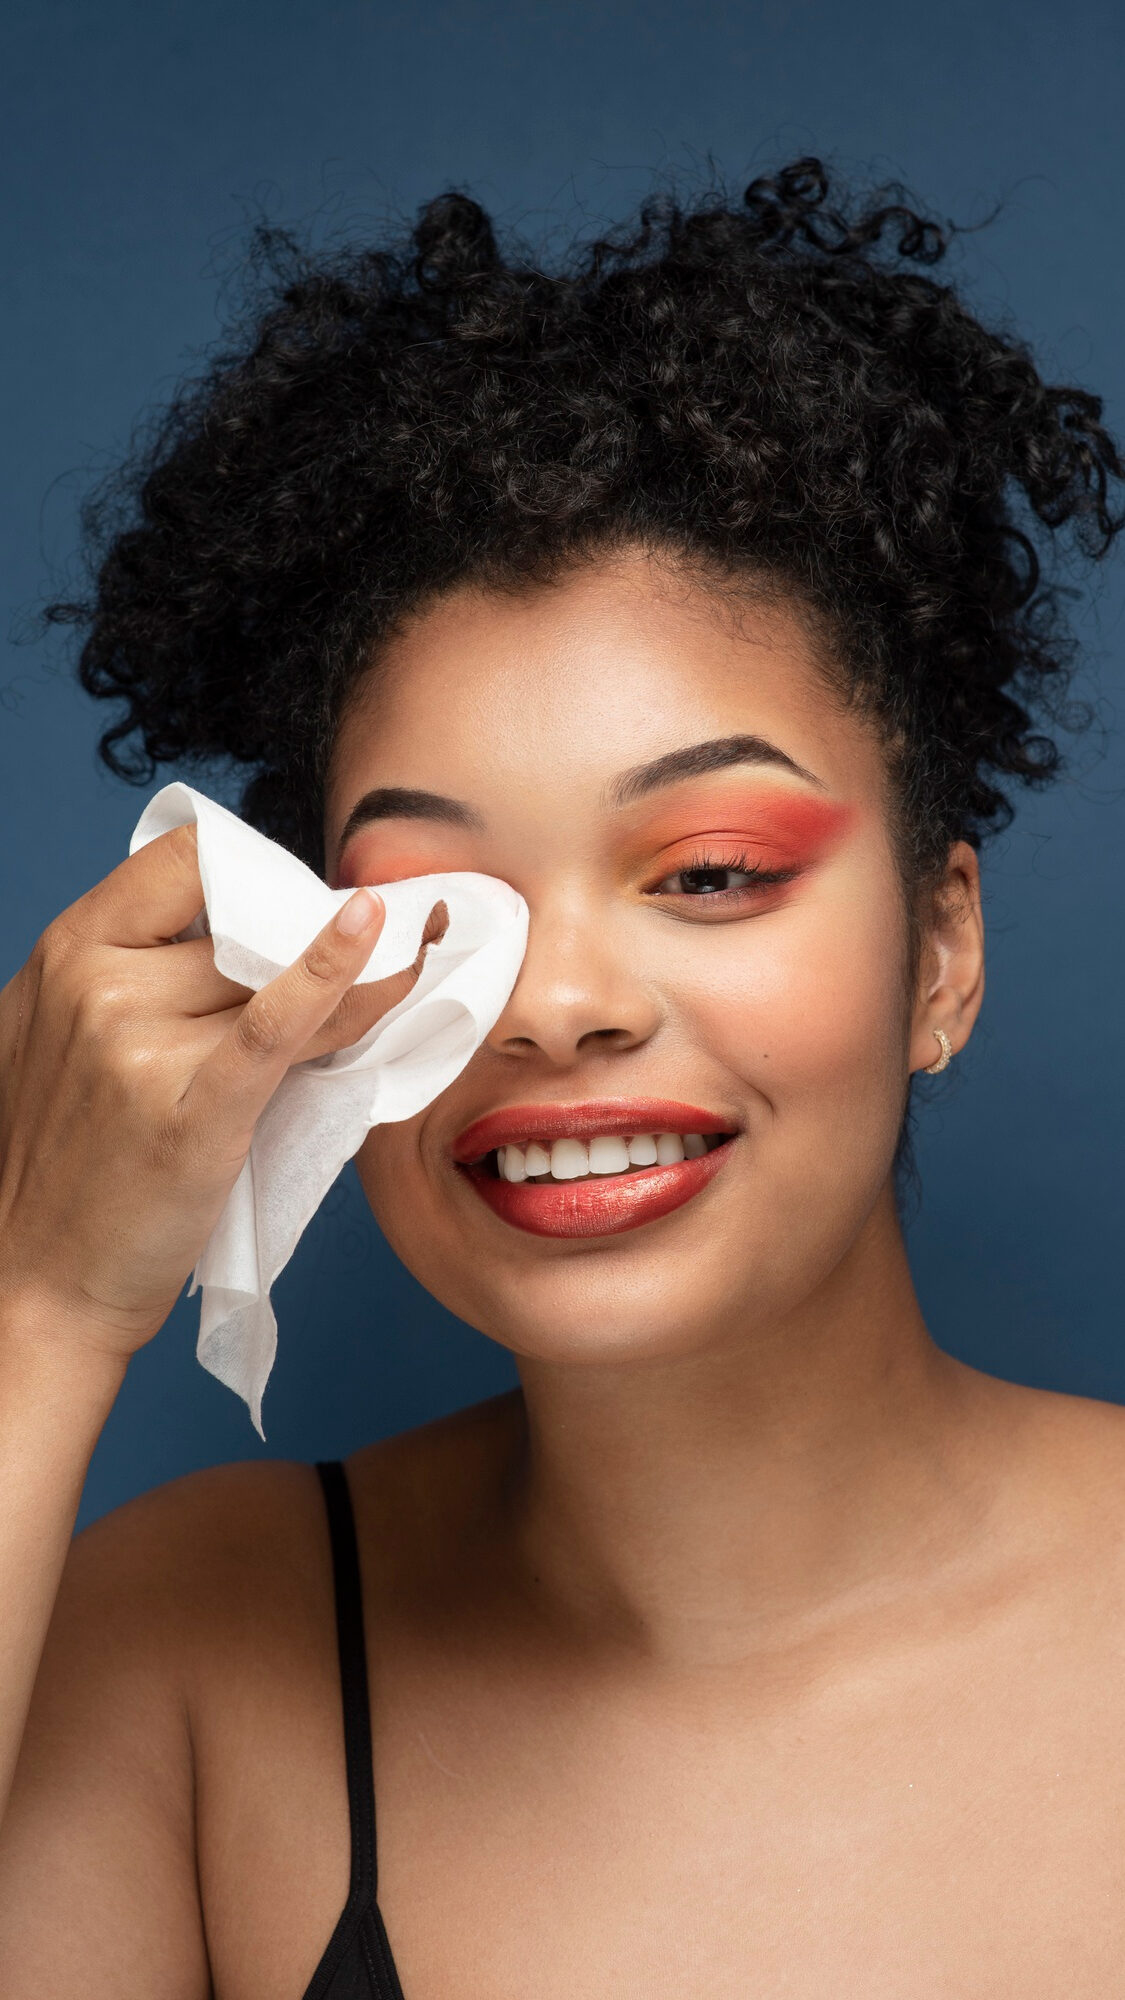
10. Makeup Removal Tips
Removing makeup correctly is as crucial as applying it, ensuring your skin remains healthy and clear.
Here’s a step-by-step guide to effective makeup removal:
-
Initial Removal:
- Oil-Based Cleanser: Start with an oil-based cleanser to dissolve makeup, especially waterproof products. Massage gently all over the face, including the hairline, under the chin, and around the ears.
- Let Sit: For tough makeup like mascara and liner, let the makeup remover sit for a couple of minutes to soften.
- Use Flat Cotton Pads: Opt for flat cotton pads over cotton balls to avoid residue. They’re effective for cleaning the edges of your eyelid and removing liner and mascara build-up.
-
Double Cleansing:
- Water-Based Cleanser: Follow up with a water-based cleanser to remove any remaining impurities, ensuring a thorough cleanse.
- Lukewarm Water: Rinse off the cleanser with lukewarm water, which helps in not shocking the skin while still aiding in removing any leftover product.
- Gentle Motions: Be gentle throughout the process, using circular motions and avoiding harsh rubbing, to prevent skin irritation.
-
Post-Removal Care:
- Hydrate and Treat: After makeup removal, it’s important to hydrate the skin. Apply a toner, serum, and moisturizer to replenish moisture and nutrients. Don’t forget sunscreen if you’re stepping out during the day.
- Special Attention to Eyes: The eye area is delicate; use a targeted lip and eye makeup remover for this area. Opt for an oil-based or dual-phase remover for the eyes, and avoid baby wipes which can leave fibers behind.
- Facial Steam and Masks: Indulge in a hydrating mask followed by a lymphatic facial massage to boost your glow. Facial steam can also help in detaching makeup particles from the skin, allowing for deeper cleansing.
11. Experiment with Different Techniques and Styles
Don’t be afraid to experiment with various makeup techniques and styles to discover what suits you best. Try out different eyeshadow looks, lipstick shades, and contouring methods to find your signature makeup style.
Watching tutorials and practicing regularly can help you hone your skills and gain confidence in your makeup application.
12. Invest in Quality Brushes and Tools
Investing in high-quality makeup brushes and tools can make a significant difference in your makeup application.
Quality brushes help blend products seamlessly, resulting in a more professional and polished finish. Look for brushes made with soft, synthetic bristles that are gentle on the skin and allow for precise application.
Additionally, keeping your brushes clean and well-maintained is essential for maintaining hygiene and extending their longevity.
Conclusion
Venturing into the realm of makeup is a journey of self-discovery and creativity that enables individuals to express their unique style and enhance their natural beauty.
This guide has provided essential tips, from selecting the right primer and foundation based on your skin type to mastering the art of eye makeup, concealer application, and setting your makeup for long-lasting wear.
It underscores the importance of understanding one’s skin type, utilizing the correct techniques for application, and choosing products that not only complement your features but also maintain the health of your skin.
As you incorporate these tips into your routine, remember that makeup is an extension of your personality, and there’s always room for experimentation and growth.
Whether it’s achieving the perfect eyebrow shape, exploring blush and bronzer techniques, or selecting the ideal lipstick for every occasion, the key is to practice and find what works best for you.
Take these insights as a starting point to unlock your beauty potential and walk confidently on your makeup journey, remembering that the most essential aspect of any beauty routine is embracing and celebrating your unique self.
You Might Also Like: 8 Game-Changing Makeup Tips for Women Over 40
FAQs
What are the initial steps a beginner should follow when applying makeup?
To start your makeup journey, follow this basic routine:
- Begin by preparing your skin with a cleanse, tone, and moisturize (CTM) routine.
- Apply a primer to create a smooth base.
- Use foundation for an even skin tone.
- Cover any blemishes or dark circles with a concealer.
- Add some color to your cheeks with blush.
- Apply eyeshadow for eye definition.
- Enhance your eyes further with eyeliner, kajal, and mascara.
- Finish your look with a lip liner and your favorite lipstick.
What are the essential makeup items for a beginner?
If you’re new to makeup, here are the must-have items to start your collection:
- Primer
- Foundation
- Concealer
- Eyebrow Gel
- Eyeshadow Palette
- Mascara
- Eyeliner
- A bronzer/highlighter contour kit
In what order should makeup be applied to the face?
The first step in your makeup routine should be applying a primer and/or color corrector, if you choose to use them. These products should be used right after completing your skincare routine to help smooth and even out your complexion, ensuring your makeup lasts longer.
How should I begin applying makeup?
To apply makeup properly, follow these steps:
- Start with a high-quality moisturizer to prep your skin.
- Apply a primer.
- Use a liquid foundation for coverage.
- Conceal any imperfections with a concealer.
- Set your foundation with a powder.
- Add warmth with a bronzer.
- Apply blush for a rosy glow.
- Highlight key areas of your face for a radiant finish.




Leave a Reply
You must be logged in to post a comment.