Exploring eyelash hacks for flawless lashes can transform your look without the need for expensive treatments or salon visits.
This post will show you 10 easy eyelash hacks that take minutes, but the results will have you looking like you spent hours perfecting your flutter.
You’ll discover mascara hacks that tackle clumpy eyelashes and learn how to get long lashes with mascara for that flawless mascara finish every time.
We’ll also cover the essentials like how long do strip lashes last and how to fix clumpy eyelashes, ensuring your lash game remains strong.
Through each tip and trick, your quest for the perfect flutter could well be within reach.
Busy? Save this pin for later.
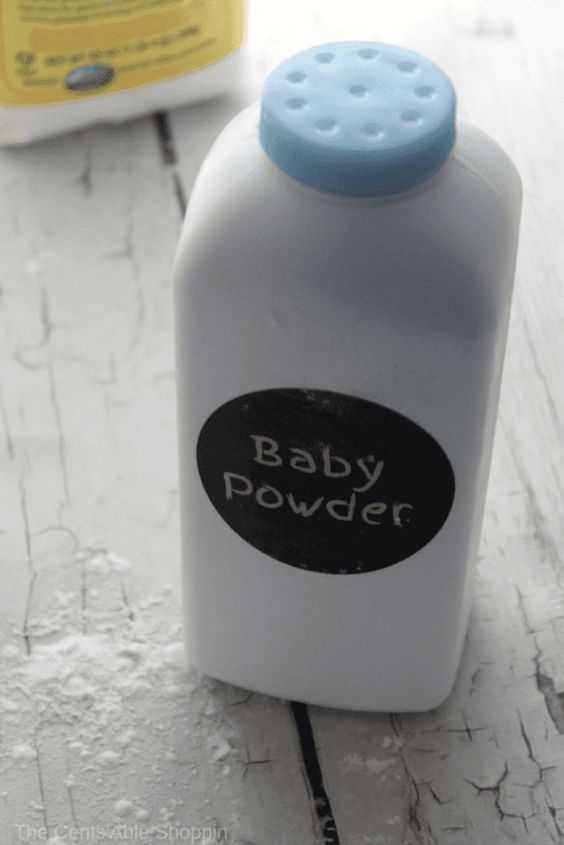
1. Baby Powder Boost
Step-by-Step Guide to the Baby Powder Boost for Flawless Lashes
Step 1: Prep Your Lashes
To begin, give your lashes a perfect curl. Use an eyelash curler and press down at the base, middle, and tips of your lashes, holding each clamp for about eight seconds. This ensures a smooth, natural curve rather than a sharp bend.
Step 2: Apply Your Base Mascara
Brush through your lashes with one to two coats of your favorite mascara, starting from the roots to the tips. This initial coat will help the baby powder adhere better and makes the volumizing effect more pronounced.
Step 3: Apply Baby Powder
Here’s where the magic happens. Lightly tap some baby powder into a small container. Using a Q-tip, dip into the baby powder and gently apply it to both the top and bottom sides of your lashes.
Ensure each lash is lightly dusted with powder. Your lashes should appear matte and ashen at this stage.
Step 4: Seal with Mascara
After the baby powder application, apply another coat of mascara from roots to tips. This step is crucial as it covers the white powder completely, turning your lashes back to being raven-black. The mascara will also help to lock in the powder, ensuring it doesn’t flake off.
Step 5: Check the Results
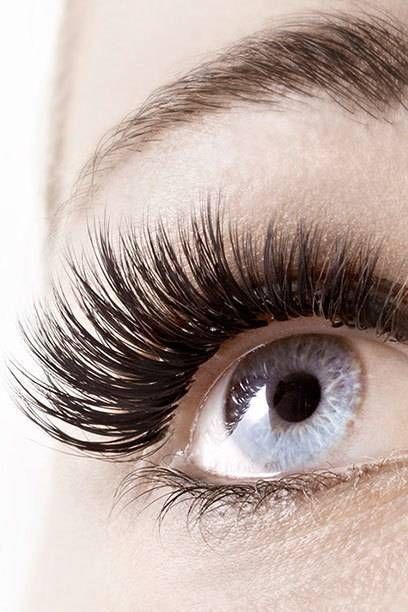
Look at the difference! Your lashes should now look significantly thicker, fuller, and longer. The baby powder technique helps to build up volume and length beyond what mascara alone can achieve.
Compare your lashes to how they looked before— the transformation is akin to wearing false lashes but without the fuss of glue and application tools.
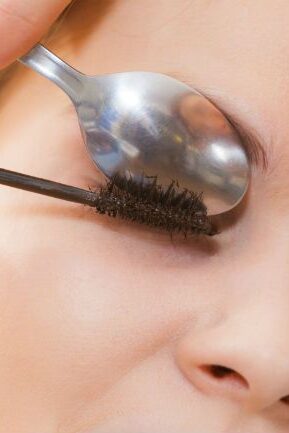
2. Spoon Curl Trick
Step-by-Step Guide to Curling Lashes with a Spoon
Step 1: Select Your Spoon
Choose a small, thin spoon, ideally an espresso or teaspoon for easier handling. Smaller spoons conform better to the curvature of your eyelids, making them ideal for this technique.
Step 2: Warm the Spoon (Optional)
For a more pronounced curl, you can gently warm the spoon using a hair dryer. Always test the spoon’s temperature on your inner wrist to ensure it’s warm but not hot enough to cause discomfort or harm.
Step 3: Position the Spoon
Hold the spoon so the curved end is facing outwards. Place the edge of the spoon at the base of your upper lashes. Your thumb should be on the back of the spoon, ready to manipulate the lashes.
Step 4: Curl Your Lashes
Press your lashes against the curved edge of the spoon and gently but firmly slide the spoon upwards along your lashes, curling them over the edge. Repeat this motion to ensure a smooth, even curl.
Step 5: Apply Mascara
Immediately apply mascara to set the curl. Choose a mascara that complements the effect you desire, whether it’s lengthening, volumizing, or waterproof.
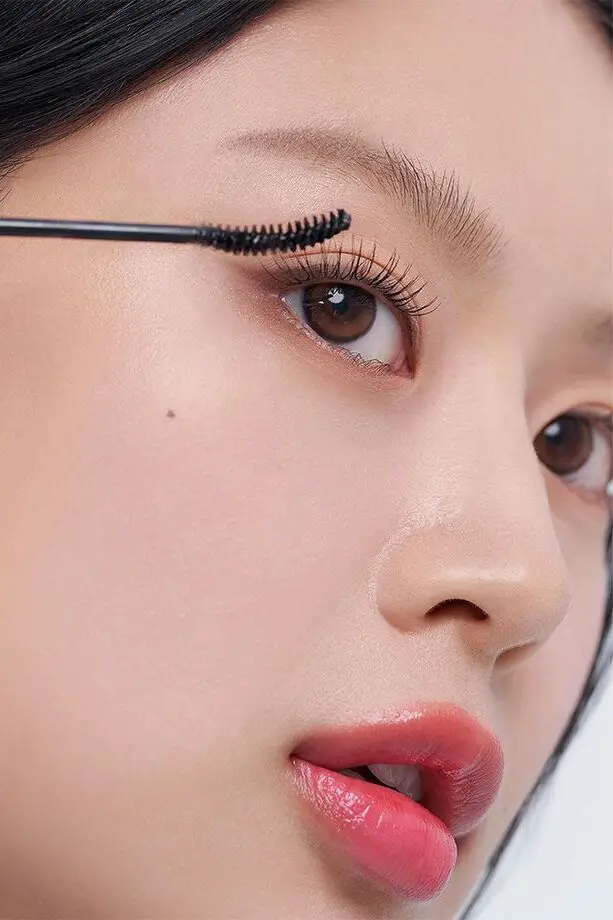
3. Wiggle It Out
Step-by-Step Guide to the Wiggle It Out Technique for Flawless Lashes
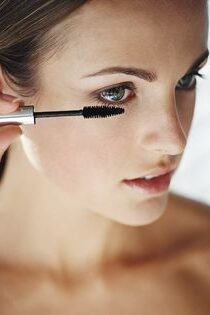
Step 1: Position the Wand
Start by placing the mascara wand horizontally as close to the base of your lashes as possible. Ensure you are gentle to avoid any discomfort.
Step 2: The Wiggle Motion
Gently wiggle the wand back and forth while moving it upward through your lashes. This side-to-side motion helps to separate the lashes, preventing any clumps from forming.
Step 3: Extend to the Tips
Continue the wiggle motion all the way from the base to the tips of your lashes. This ensures each lash is coated evenly, enhancing both length and volume.
Step 4: Focus on the Outer Edges
Pay extra attention to the outer edges of your lashes by focusing the wiggle motion here. This helps to fan out the lashes, giving a more dramatic and wide-eyed effect.
Step 5: Second Coat Application
For even more volume, apply a second coat of mascara using the same wiggle technique. Start again at the base and wiggle outwards, ensuring you don’t overload the lashes.
Step 6: Clean Up Any Excess
After applying, use a clean spoolie brush or a lash comb to gently comb through your lashes. This step is crucial for removing any excess mascara and perfecting the separation of each lash.
4. Layer Like a Lasagna

Step 1: Choose Your Base Mascara
Start by applying a coat of your base mascara. Opt for one with a plastic brush that’s short and densely packed. This type will grab every lash and evenly distribute the mascara, setting the stage for additional layers.
Step 2: Apply a Lengthening Mascara
Next, use a lengthening mascara to extend the lashes further. The ideal brush for this mascara is slightly fatter with natural bristles, which helps in adding subtle length without clumping.
Step 3: Add a Volumizing Mascara
For the third layer, switch to a volumizing mascara. This should have a thicker consistency but not too wet to prevent lashes from sticking together. The aim here is to build dramatic volume.
Step 4: Dry and Separate
Allow each coat to dry slightly before applying the next. Use a clean lash brush between layers to separate and define lashes, avoiding any potential clumps.
Step 5: Repeat for Emphasis
Depending on the desired intensity, you can repeat the layering process. More layers mean more dramatic lashes. Just ensure each layer is dry before adding another to maintain definition.
Step 6: Finish with the Bottom Lashes
Lightly coat your bottom lashes with the base mascara to balance the look. Since they are thinner, a heavy application can weigh them down, so a light touch is crucial.
5. Lower Lash Love
Step-by-Step Guide to Perfect Lower Lash Mascara Application
Step 1: Choose the Right Mascara
Select a mascara that complements your lower lashes without overwhelming them. Typically, a mascara with a smaller wand or a slim brush works best for precise application and to avoid smudging.
Step 2: Tilt Your Head
Tilt your head slightly downward. This position helps keep the mascara wand parallel to your lower lashes and minimizes the risk of mascara touching your under-eye area.
Step 3: Use a Light Hand
Begin at the base of your lashes and use gentle, light strokes. If you prefer a more defined look, use the tip of the wand to carefully coat each lash. This technique helps prevent clumps and ensures an even application.
Step 4: Clean Up Smudges
If you do smudge, don’t worry! Allow the mascara to dry completely, then use a dry cotton swab to gently remove it. This method ensures your under-eye area stays clean and your makeup intact.
Step 5: Consider a Lash Primer
For extra definition and to enhance the longevity of your mascara, apply a thin coat of lash primer to your lower lashes before the mascara. This step also helps in preventing smudging.
6. Business in the Front, Party in the Back

Step 1: Focus on the Front
To achieve the “Business in the Front” look, start by applying a light coat of mascara to your upper lashes. This should be done with precision to avoid clumping.
Use a mascara that offers lengthening and defining effects to keep things neat and professional-looking. The key here is subtlety and enhancement of your natural lashes without going overboard.
Step 2: Add Drama to the Back
For the “Party in the Back,” focus on the outer edges of your lashes. Here, you can apply a volumizing mascara to just the outer third of your lashes.
This technique creates a winged effect that adds a dramatic flair, perfect for transitioning from day to night.
Make sure to use the mascara wand to slightly push the lashes towards the outer corner of your eye, enhancing the dramatic effect.
Step 3: Blend for Cohesion
After applying the different mascaras, use a clean spoolie brush to blend the front and back sections together.
This step is crucial as it ensures there is a seamless transition between the subtly enhanced lashes and the voluminous outer edges. The goal is to create a look that is both sophisticated and striking without any harsh lines.
Step 4: Final Touches
Lastly, inspect your lashes for any clumps or excess mascara and use a lash comb if necessary to separate the lashes.
7. The Cotton Swab Fix
Step 1: Wait for the Mascara to Dry
When you accidentally get mascara on your skin, the first instinct might be to wipe it off immediately. However, the key is patience.
Wait for the mascara to dry completely. This prevents the mascara from smearing further and makes the next steps more effective.
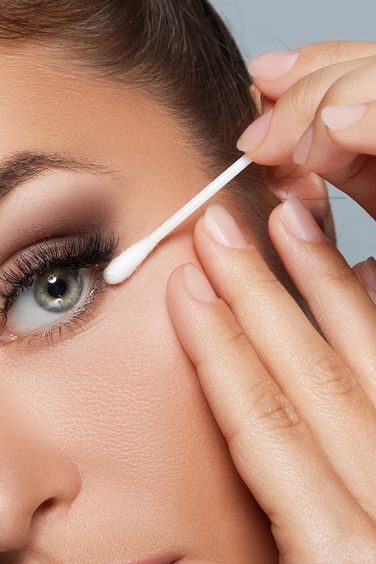
Step 2: Choose Your Tool
Instead of reaching for a makeup remover right away, use a dry, clean spoolie or a cotton swab. These tools are gentle on the skin and precise enough to target just the mascara without disturbing the underlying makeup.
Step 3: Gently Remove the Mascara
Using the spoolie or cotton swab, lightly brush over the dried mascara. Use small, gentle motions to flake the mascara off. This technique ensures that your foundation or eye makeup stays intact, avoiding any messy cleanups.
Step 4: Final Touch-Up
If any mascara residue remains, you can then use a pointed brush lightly dampened with makeup remover to tidy up. This step should be done with care to maintain the rest of your makeup application.
8. Business Card Lash Comb
Step 1: Prepare Your Mascara and Business Card
Open your mascara and carefully wipe off any excess product on the edge of the tube. This helps in preventing clumpy application.
Grab a business card or any card with a straight edge, such as a price tag or even a sturdy paper piece.
Step 2: Position the Business Card
Place the business card behind your lashes, gently holding your eyelid up with the card.
This position allows you to access the roots of your lashes more effectively, providing a shield for your eyeshadow from any stray mascara marks.
Step 3: Apply Mascara with Precision
With the business card in place, apply your mascara at the base of your lashes. Use a slight wiggling motion as you move the wand from the roots to the tips.
This technique helps in evenly coating the lashes while preventing them from sticking together.
Step 4: Comb Through Lashes
Continue to use the business card to guard your eyelid as you comb through the lashes from the inner to the outer corners.
This method ensures each lash is separated, enhancing the overall length and preventing clumps.
Step 5: Compare and Contrast
After applying mascara with the business card technique on one eye, apply mascara normally on the other eye.
This will allow you to see the effectiveness of using a business card in preventing smudges and achieving cleaner, longer, and clump-free lashes.
9. Brown is Your BFF (Sometimes)

Choosing the Right Mascara Color
For Light Eyes: If you have blue, green, or hazel eyes, brown mascara can enhance your natural eye color without the stark contrast that black mascara might create.
It’s perfect for a softer, more natural look, especially during daytime or in professional settings.
Versatile Applications: Brown mascara isn’t just for light eyes; it also adds a subtle definition to darker eyes. For a unique touch, try applying black mascara at the lash base and brown at the tips for a dimensional look.
Complement Your Skin Tone: Those with fair skin might find brown mascara less overwhelming than black. It offers a gentle enhancement, making it ideal for no-makeup makeup looks or when aiming for subtlety.
Event-Specific Choices: Consider your event when choosing your mascara. Brown mascara works well for casual or daytime events, giving a polished look without appearing overdone.
Switch to black for evening events where a more dramatic eye is desired.
Eyeshadow Pairing: Pair brown mascara with light, neutral eyeshadow shades for a harmonious look. The warm undertones of both can complement each other beautifully, enhancing your overall eye makeup.
10. Fake Lash Hack
Step-by-Step Guide to Achieving the Fake Lash Effect with Mascara
Step 1: Generous Mascara Application
Start by liberally applying mascara, focusing on coating every lash. The trick is not to worry about smudging your eyelids—this reckless application allows you to thoroughly coat the base of your lashes, enhancing their volume and length significantly.
Step 2: Multiple Layers
Apply several layers of mascara. While this might initially make you look like a raccoon, these layers are crucial for building up that thick, voluminous look that mimics fake lashes.
Allow each layer to semi-dry before applying the next to avoid clumps.
Step 3: Cleaning Up
Once you’ve achieved your desired thickness and length, clean any smudges on your eyelid. A simple Q-tip dipped in micellar water can be used to clean the areas around your lashes without disturbing your masterpiece.
Step 4: Final Definition
Use the tip of your mascara wand to separate and define each lash. This step ensures that your lashes don’t just look voluminous but also neatly fanned out, enhancing the false lash effect.
Conclusion
Through the exploration of innovative eyelash hacks, this guide has ventured beyond the conventional to offer clever techniques ensuring that anyone can achieve that coveted flawless lash look, purely based on skill and application mastery.
From the simple genius of the baby powder boost to the precise art of the business card lash comb, the realization that perfect lashes don’t require an arsenal of expensive products or visits to professional salons has been firmly established.
Notably, the guidance provided steers clear of brand endorsements and pricing, emphasizing the universal accessibility of these techniques, ensuring that the focus remains squarely on enhancing beauty through creativity and practical tips.

Leave a Reply